![]()
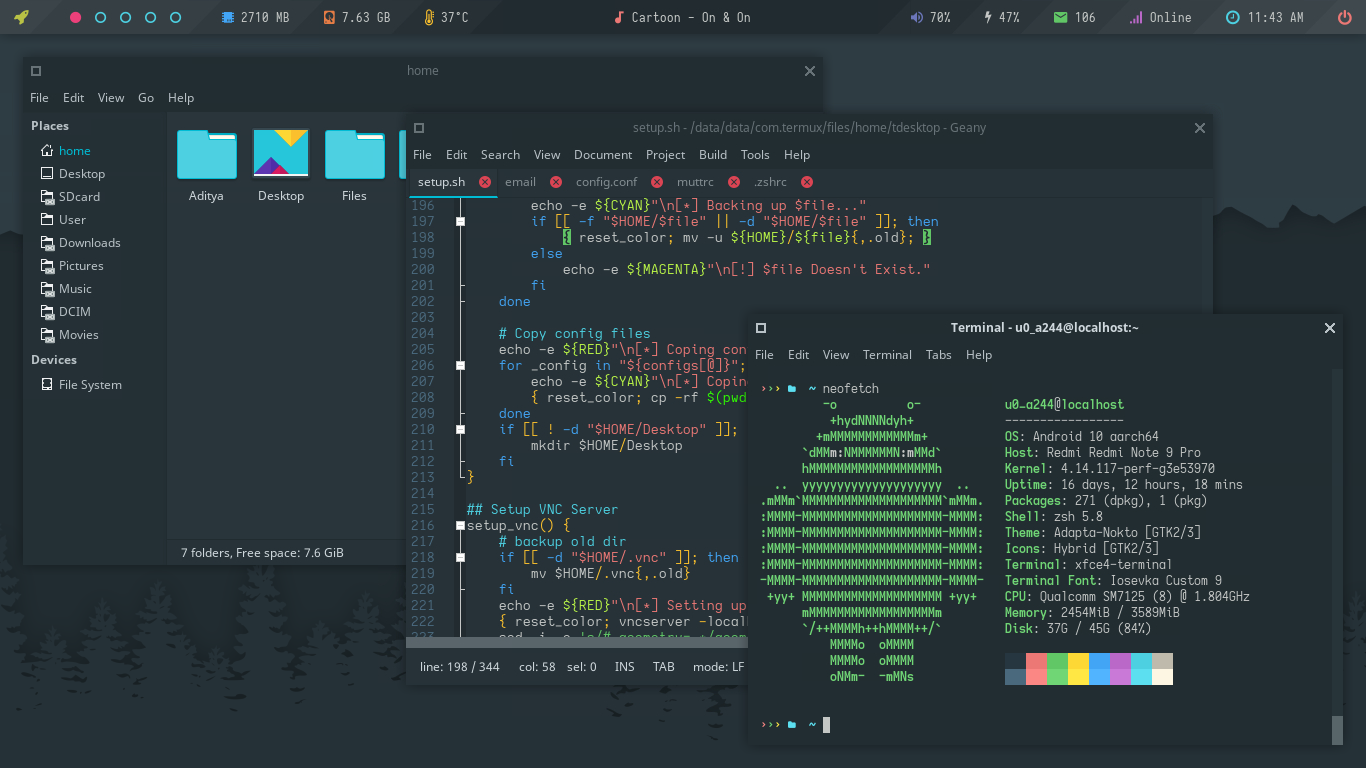
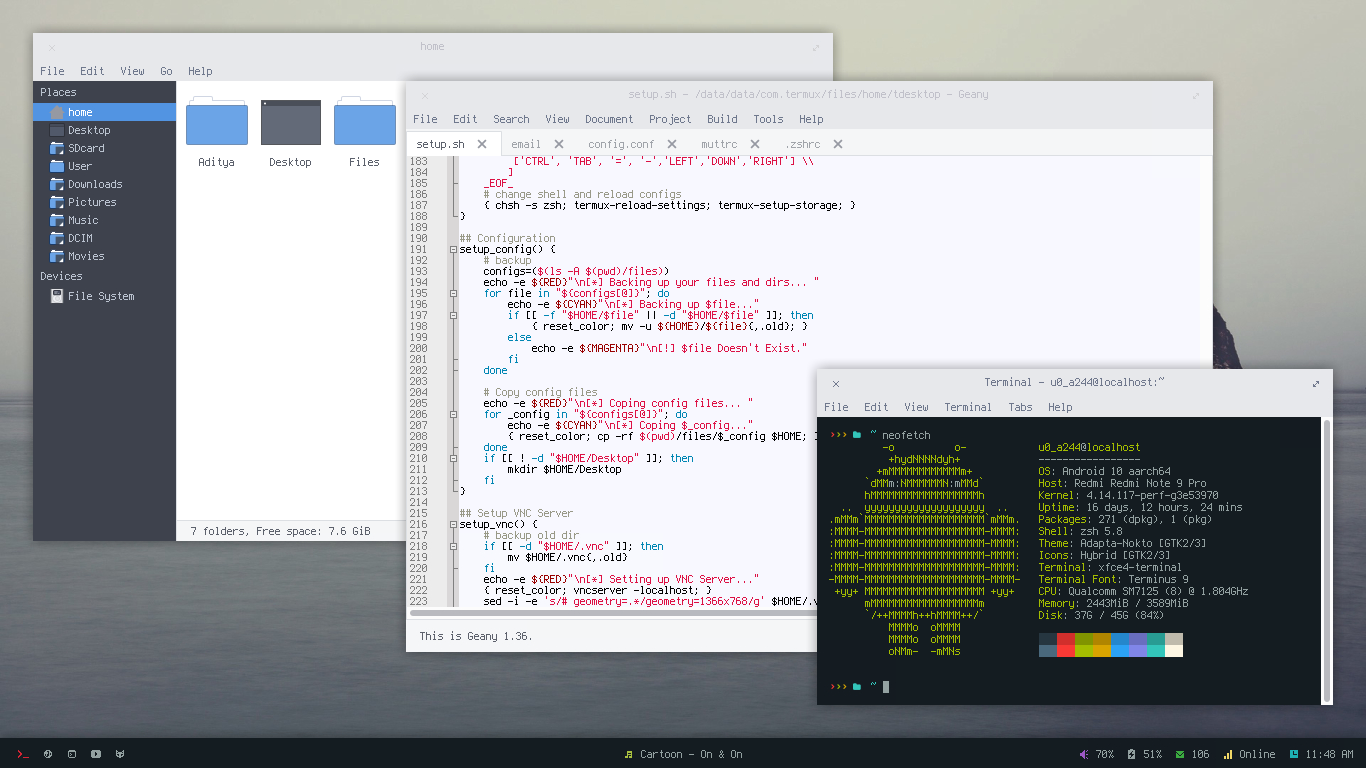
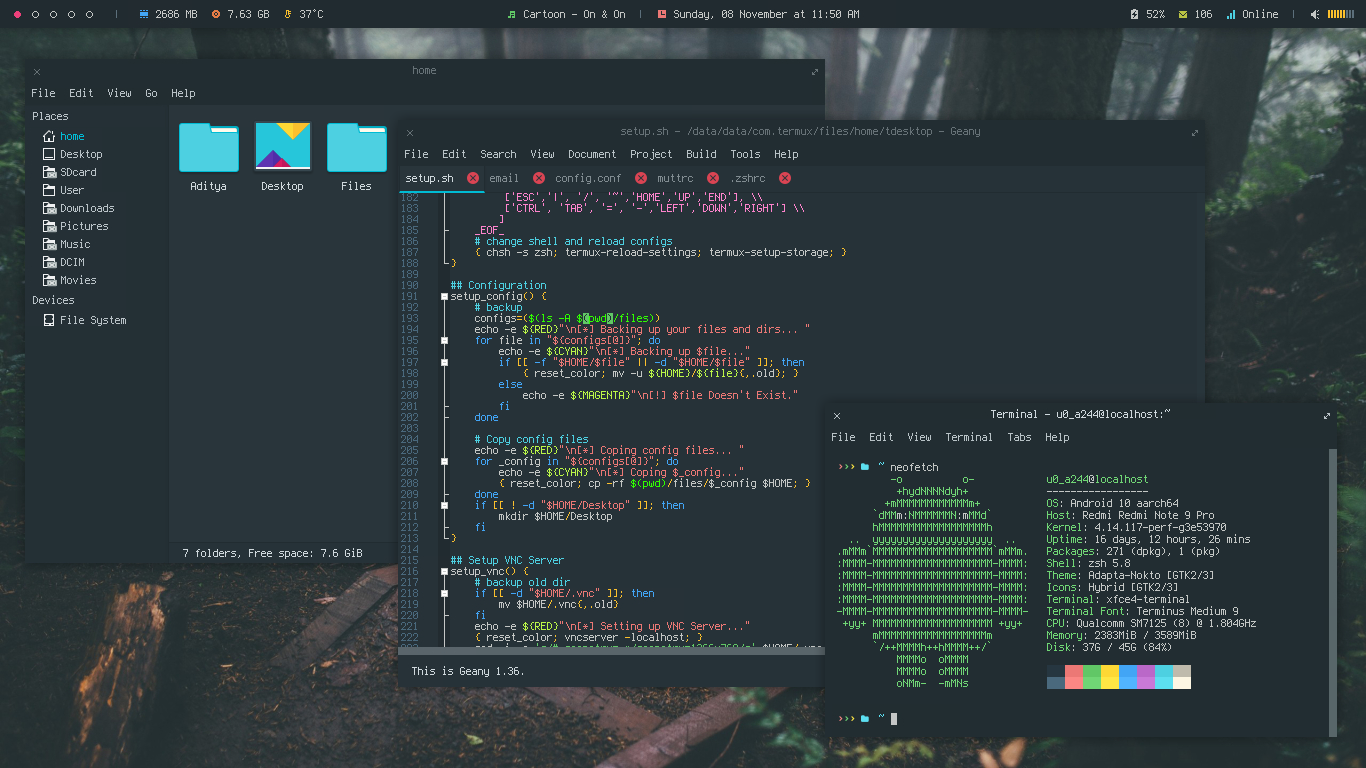
Alright, Lets just get this straight, these are just some dotfiles & scripts, which will help you to setup a graphical environment in termux. I’ve tried to make it as easy as possible to setup a beautiful linux desktop on your android device with termux, So follow the steps and you’ll end up making it look like this -
| Openbox WM | Another Style |
|---|---|
 |  |
Lets start from the beginning…
What is termux?
Termux is an Android terminal emulator and Linux environment app that works directly with no rooting or setup required. A minimal base system is installed automatically - additional packages are available using the PKG/APT package manager. More Here…
How To install termux?
You can install termux form google play store or from f-droid.
- Get it on Google Play
- Download from F-Droid
More information about installation is here
Preparation
Install Termux & Termux:API on your phone. It’s recommended to install Termux API application as many desktop elements are dependent on it.
This setup is created and tested on :
Device - Redmi Note 9 Pro
Android - Android 10 (Q)
CPU Type - aarch64
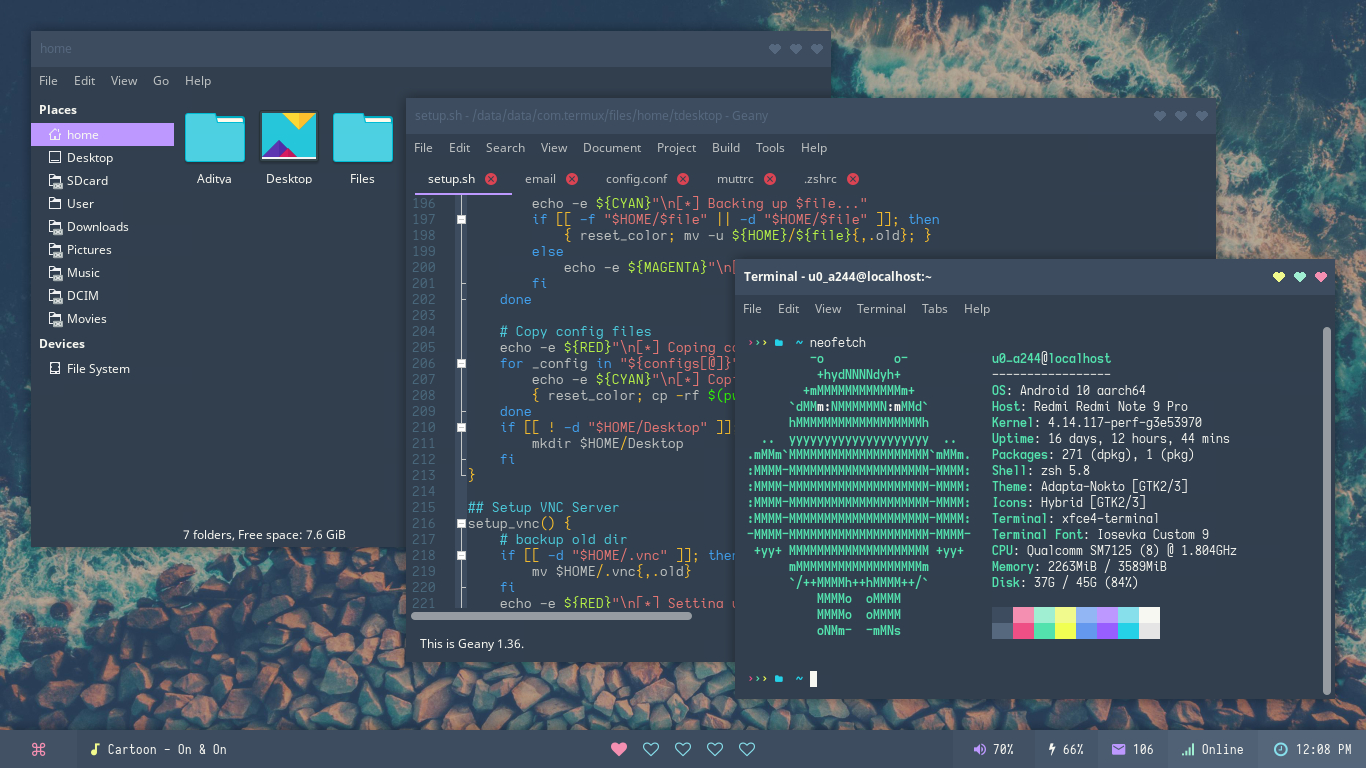
Installation
After installing both applications above, open Termux and follow the steps below -
- Update termux packages and install
gitpkg upgrade && pkg install git - Clone this repository
git clone --depth=1 https://github.com/adi1090x/termux-desktop.git
Warning : I’m assuming that you’re doing this on a fresh termux install. If not, I’ll suggest you to do so. However the
setup.shscript backup every file it replace, It’s still recommended that you manually backup your files in order to avoid conflicts.
- Change to cloned directory and run
setup.shwith –install optioncd termux-desktop
chmod +x setup.sh
setup.sh --install
If script
setup.shfails during package installation (due to network issues), you can re-execute it again.
- During installation, you’ll be asked to set up password for VNC - ``` [*] Setting up VNC Server…
You will require a password to access your desktops.
Password: Verify: Would you like to enter a view-only password (y/n)? n
> Note that passwords are not visible when you are typing them and minimum password length is 6 characters.
> Remember the password you typed as it'll be required to connect via vnc client.
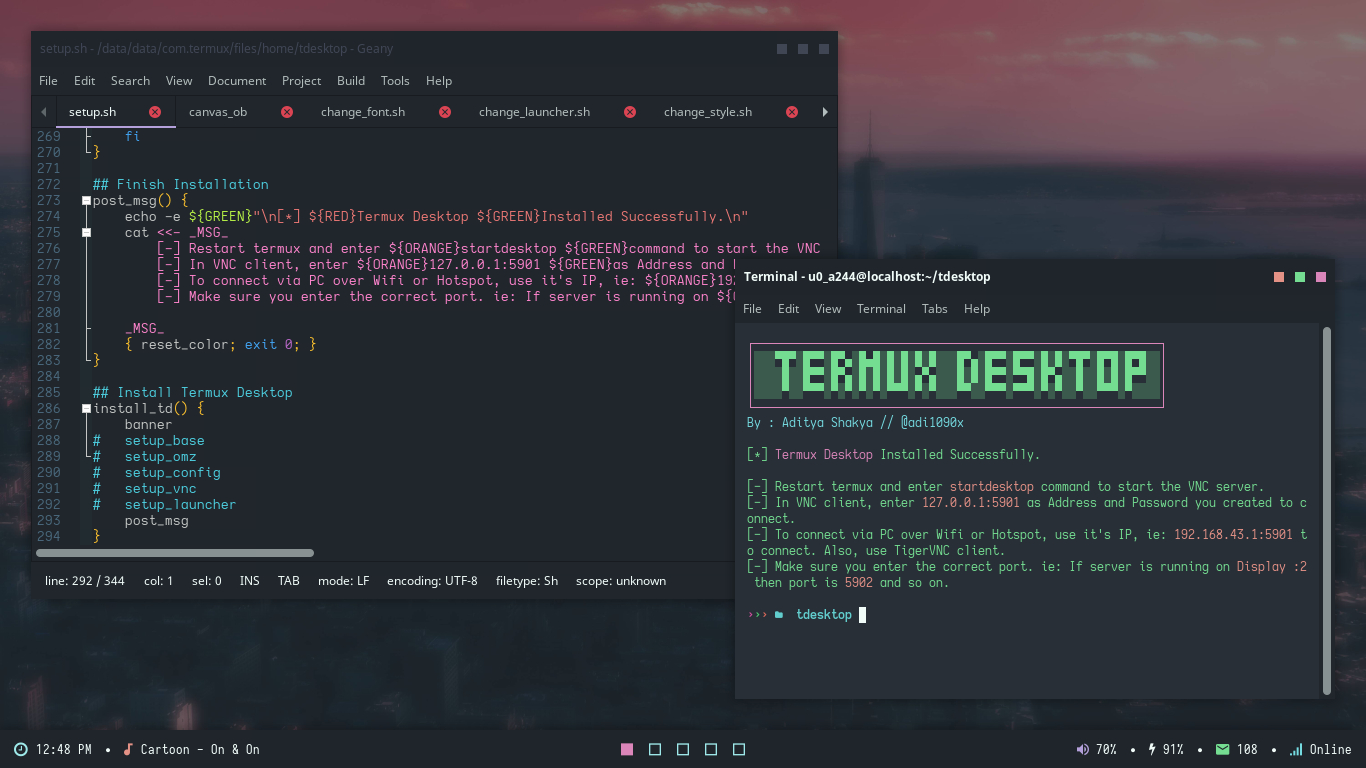
- If everything is okay, you will see this message -
New ‘localhost:1 ()’ desktop is localhost:1
Creating default startup script /data/data/com.termux/files/home/.vnc/xstartup Creating default config /data/data/com.termux/files/home/.vnc/config Starting applications specified in /data/data/com.termux/files/home/.vnc/xstartup Log file is /data/data/com.termux/files/home/.vnc/localhost:1.log
[*] Server Is Running…
TigerVNC server sessions:
X DISPLAY # PROCESS ID :1 XXXXX
> It means that X (vnc) server is available on display 'localhost:1'. <br />

That's it. `Termux Desktop` is installed successfully. *Restart Termux* and enter `startdesktop` command to start *vncserver* and connect via VNC Client. <br />
startdesktop
[*] Starting VNC Server…
New ‘localhost:1 ()’ desktop is localhost:1
Starting applications specified in /data/data/com.termux/files/home/.vnc/xstartup Log file is /data/data/com.termux/files/home/.vnc/localhost:1.log
### Uninstallation

If you ever want to uninstall Termux Desktop, just run `setup.sh` with *--uninstall* option. Just keep the `setup.sh` script and delete the cloned repository to save space. I'll create a separate uninstaller script later. The command below will remove all the packages and delete all the config files it installed, including the changes you've made. So, Be careful there...
setup.sh –uninstall
***VNC Client***

Now you need a VNC client app to connect to server. I'm using this Android VNC client: [VNC Viewer](https://play.google.com/store/apps/details?id=com.realvnc.viewer.android). You can use [TigerVNC](https://tigervnc.org/) if you're trying to connect to server by a computer (Windows or Linux).

Determine port number on which VNC server listens. It can be calculated like this: 5900 + {display number}. So for display 'localhost:1' the port will be 5901. <br />

Now open the VNC Viewer application and create a new connection with the following information (assuming that port is 5901) - <br />
Address: 127.0.0.1:5901
Name: Termux ``` Now launch it. You will be prompted for password that you entered during installation. After entering password, you’ll be headed directly to this desktop -
First Impression
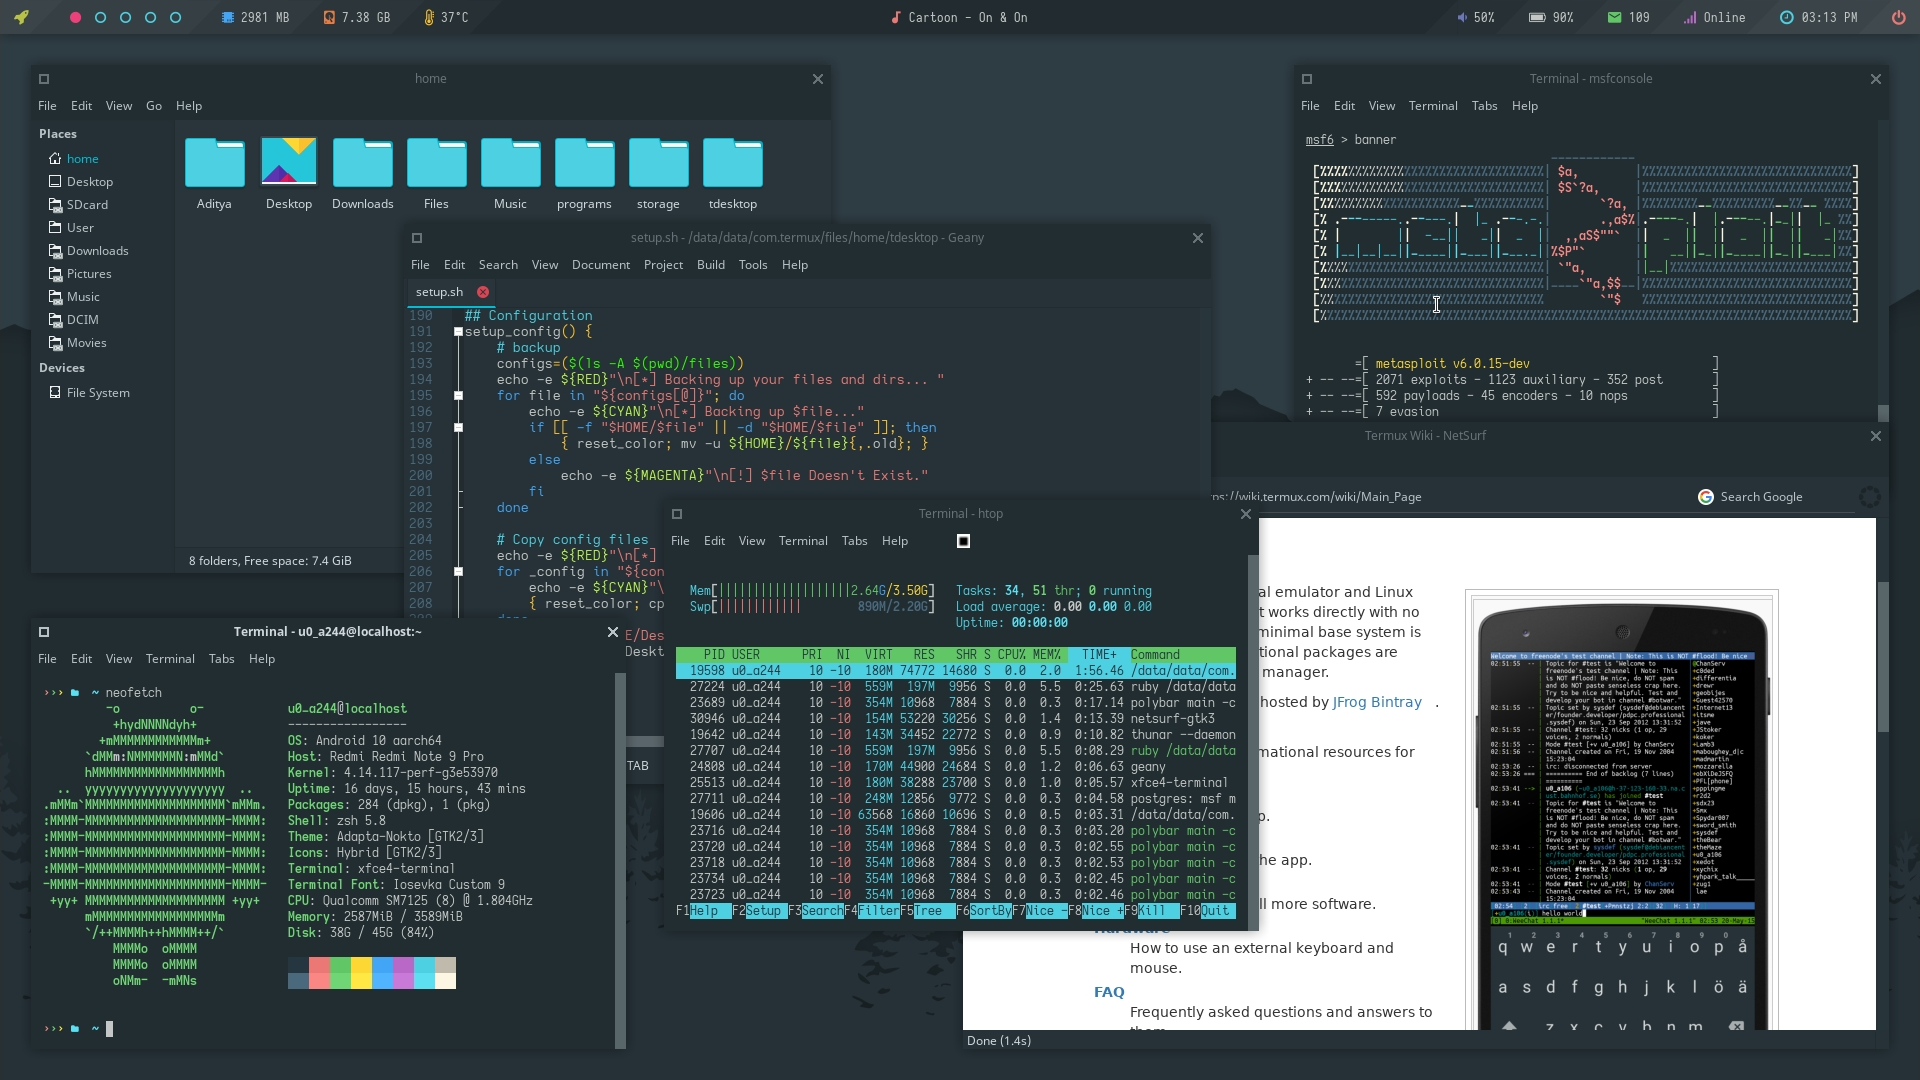
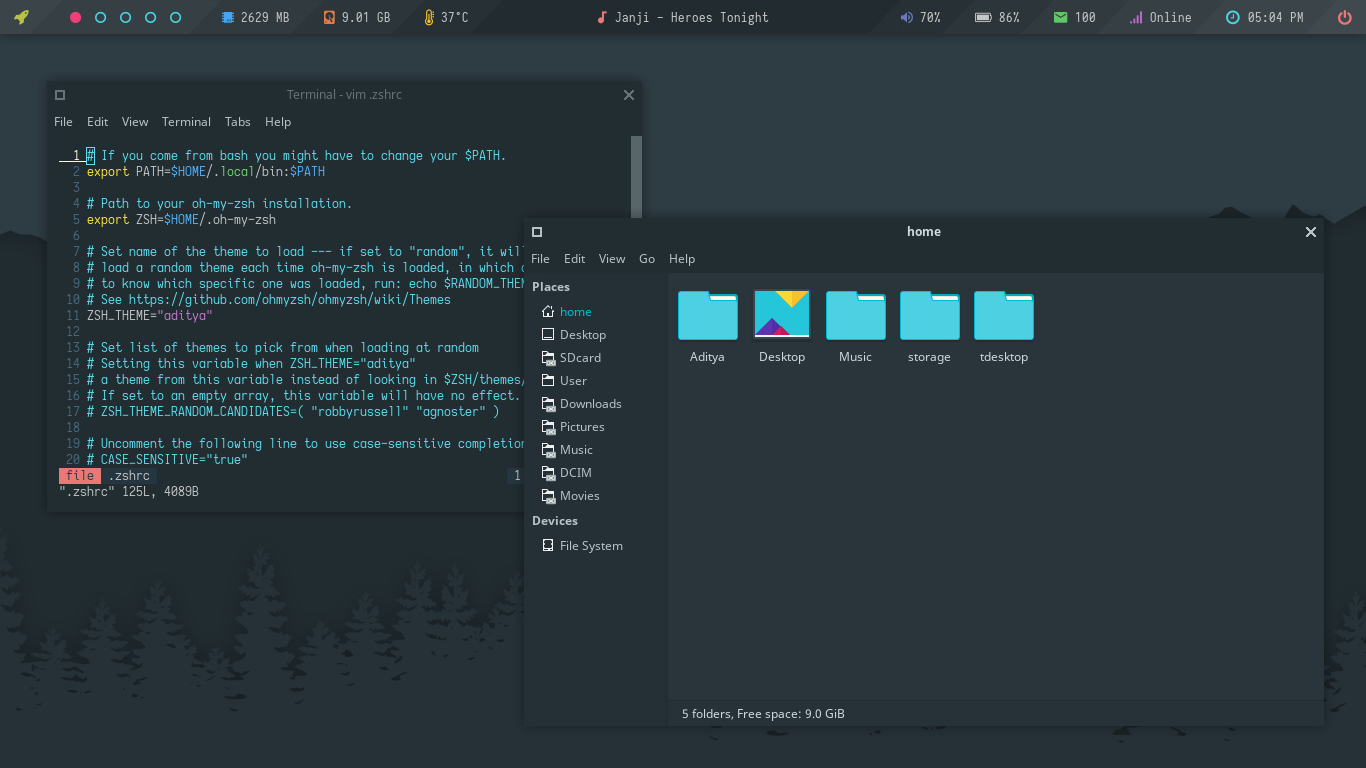
Let’s take a look at following installed programs you’ll get here -
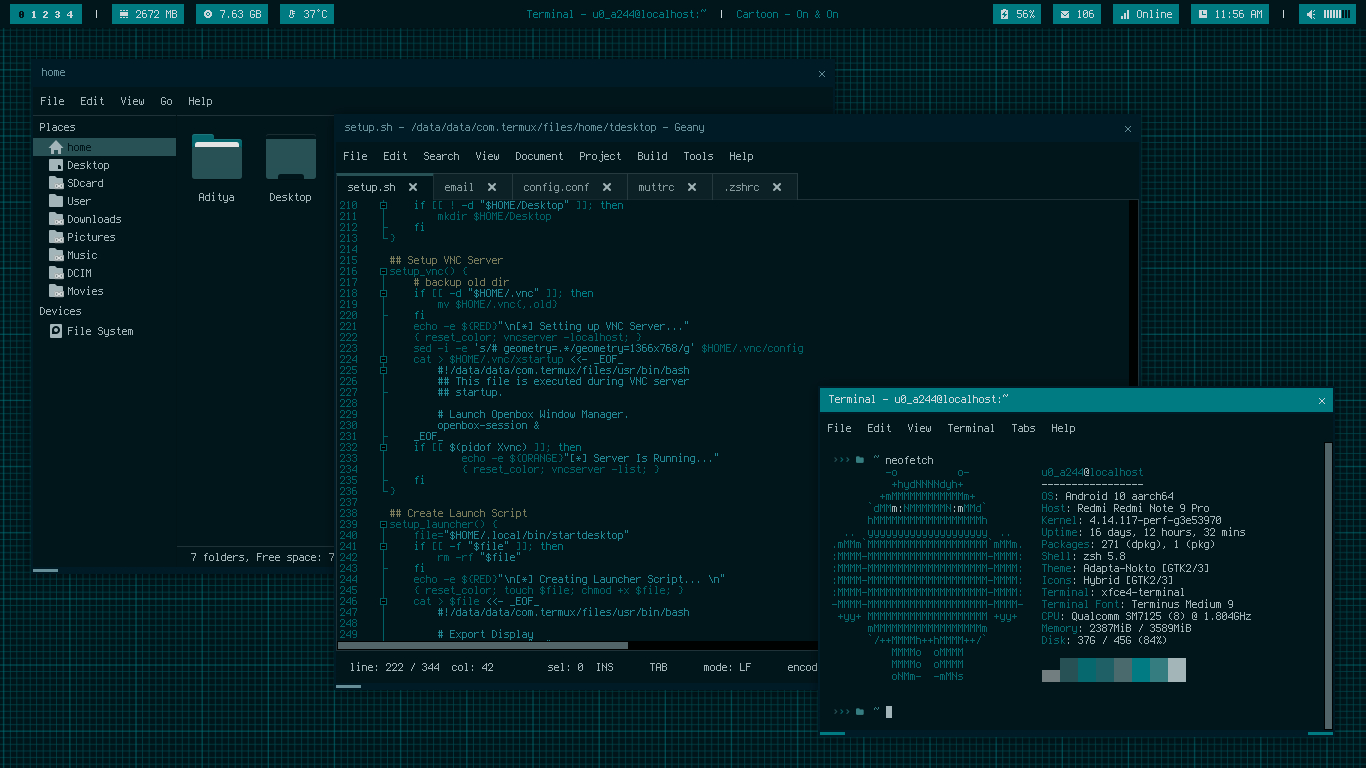
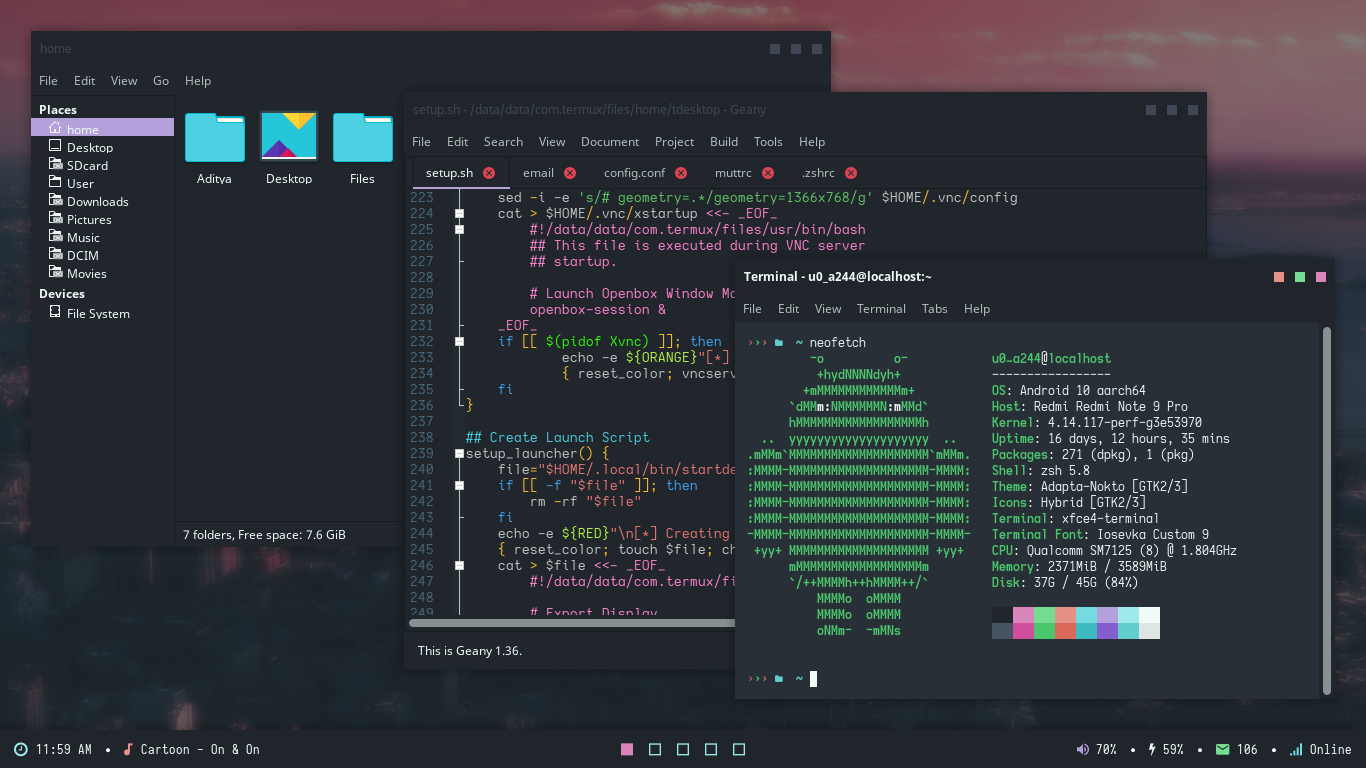
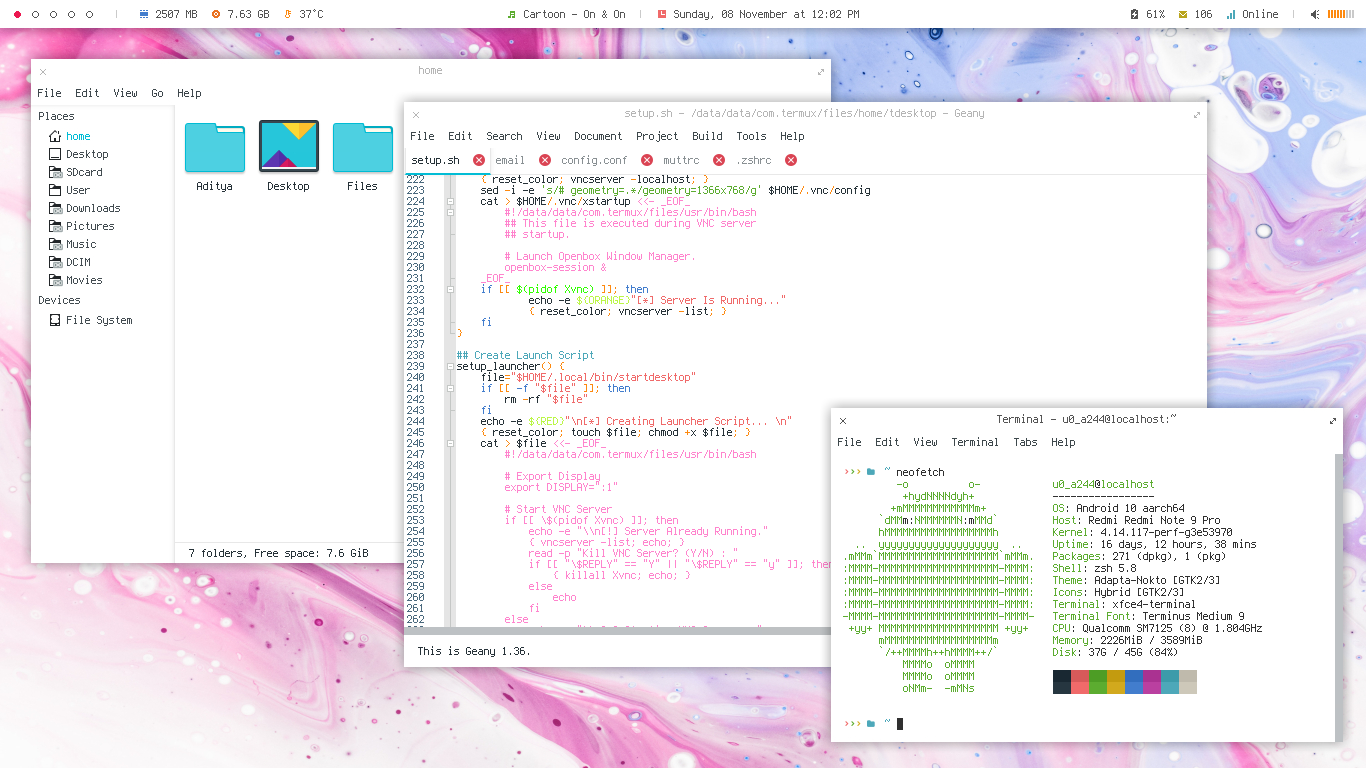
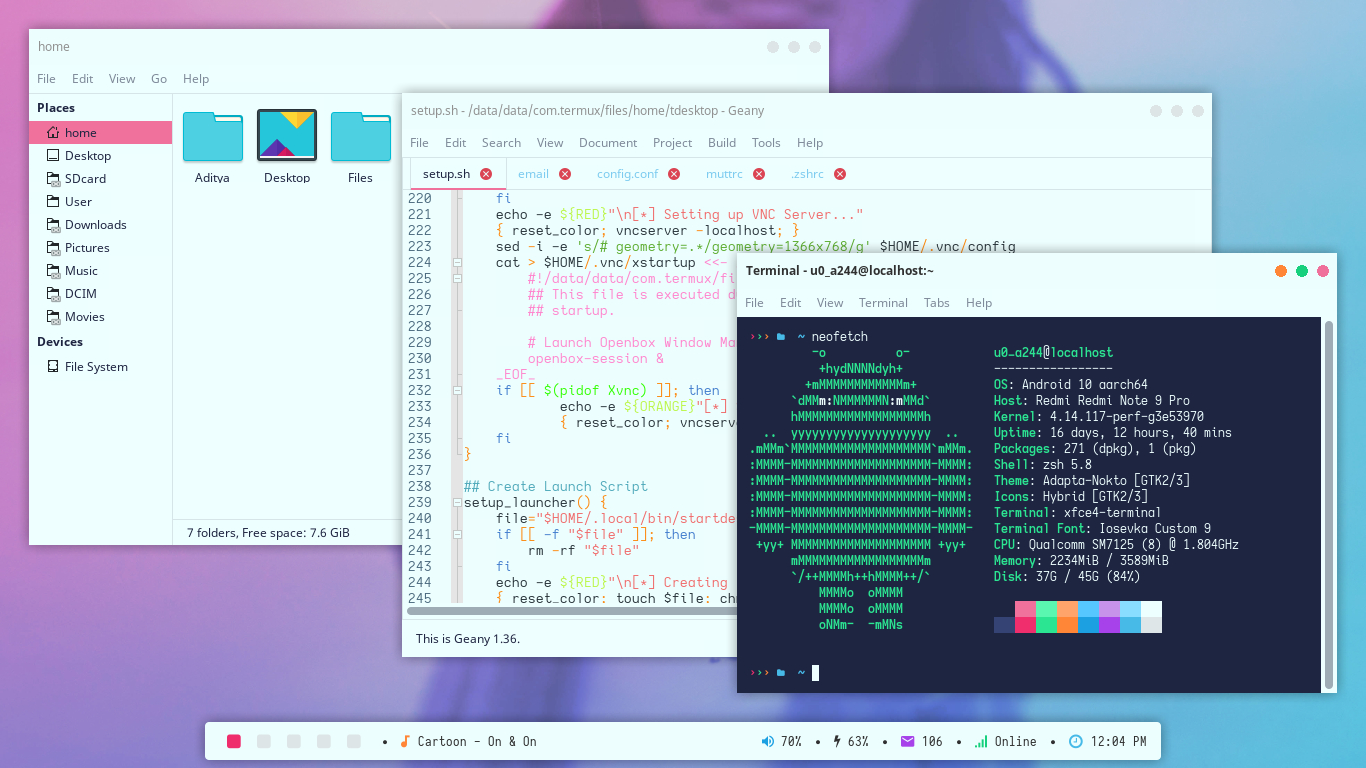
| File Manager | Text Editor/IDE |
|---|---|
 | 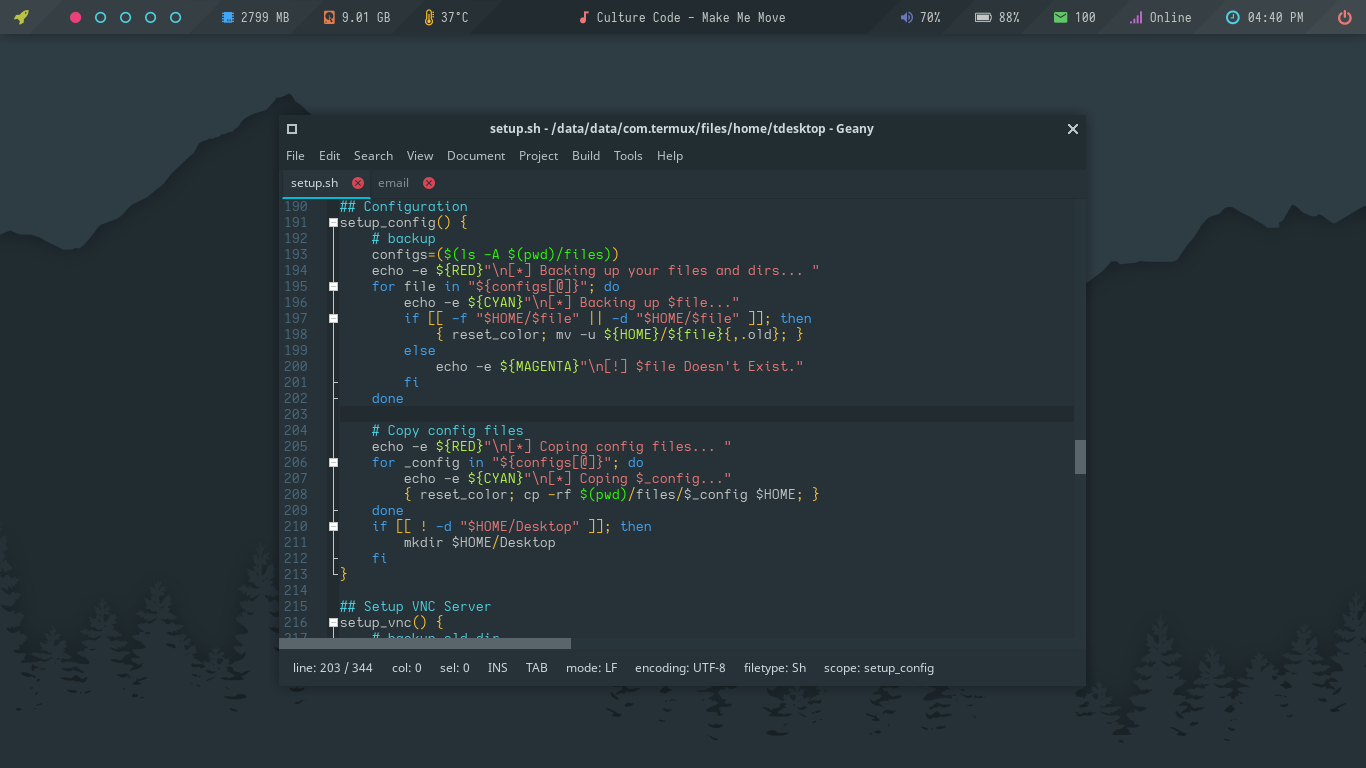 |
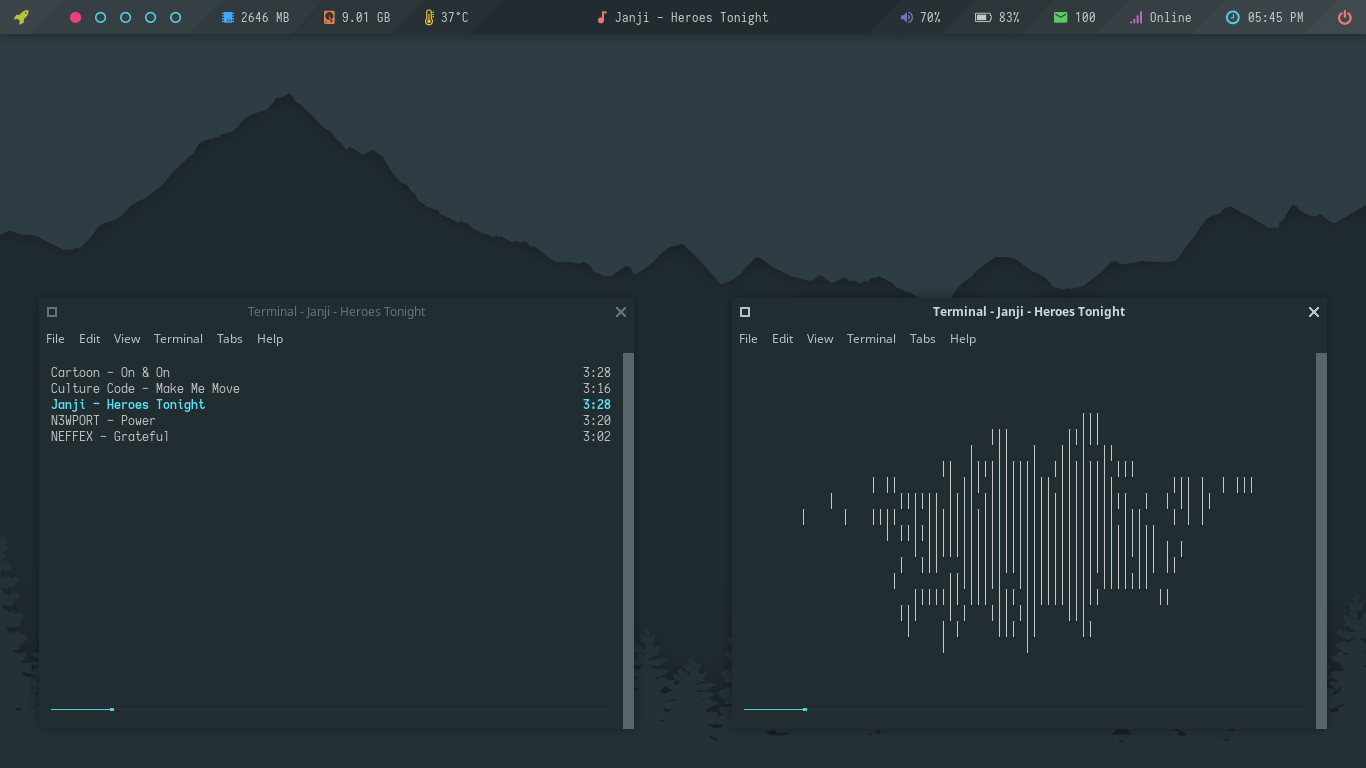
| Terminal Emulator | Web Browser |
|---|---|
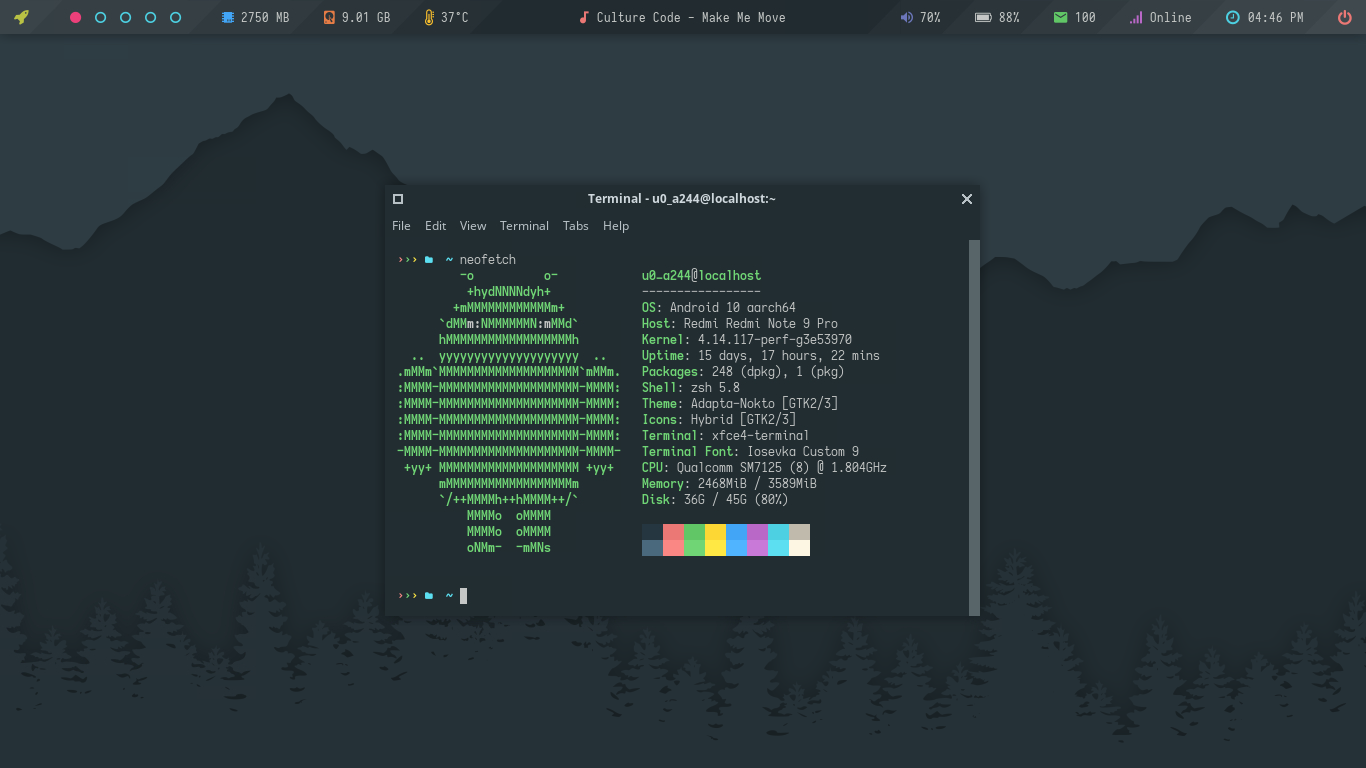 | 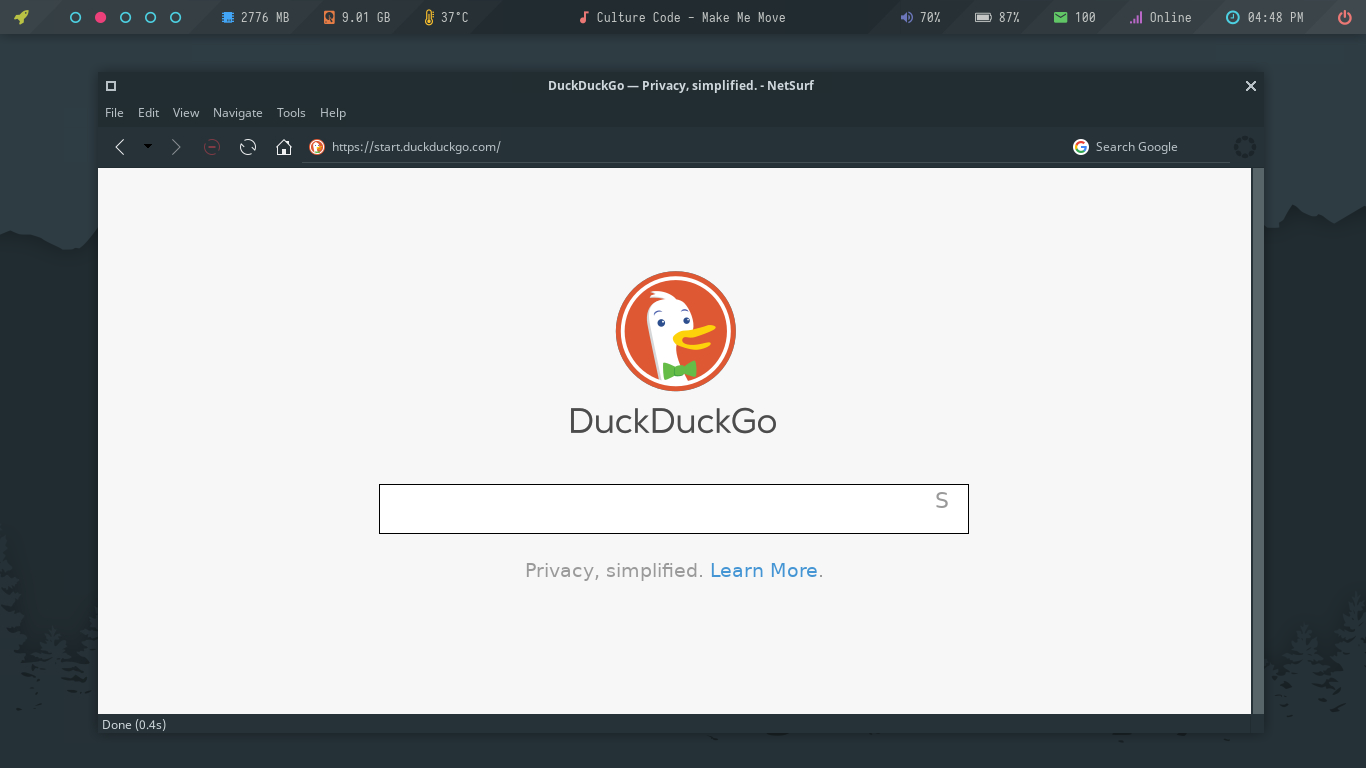 |
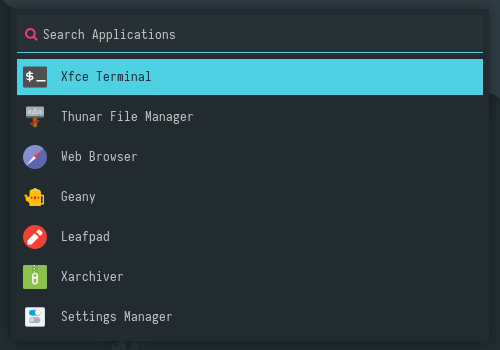
| Openbox Menu | Many CLI based Programs |
|---|---|
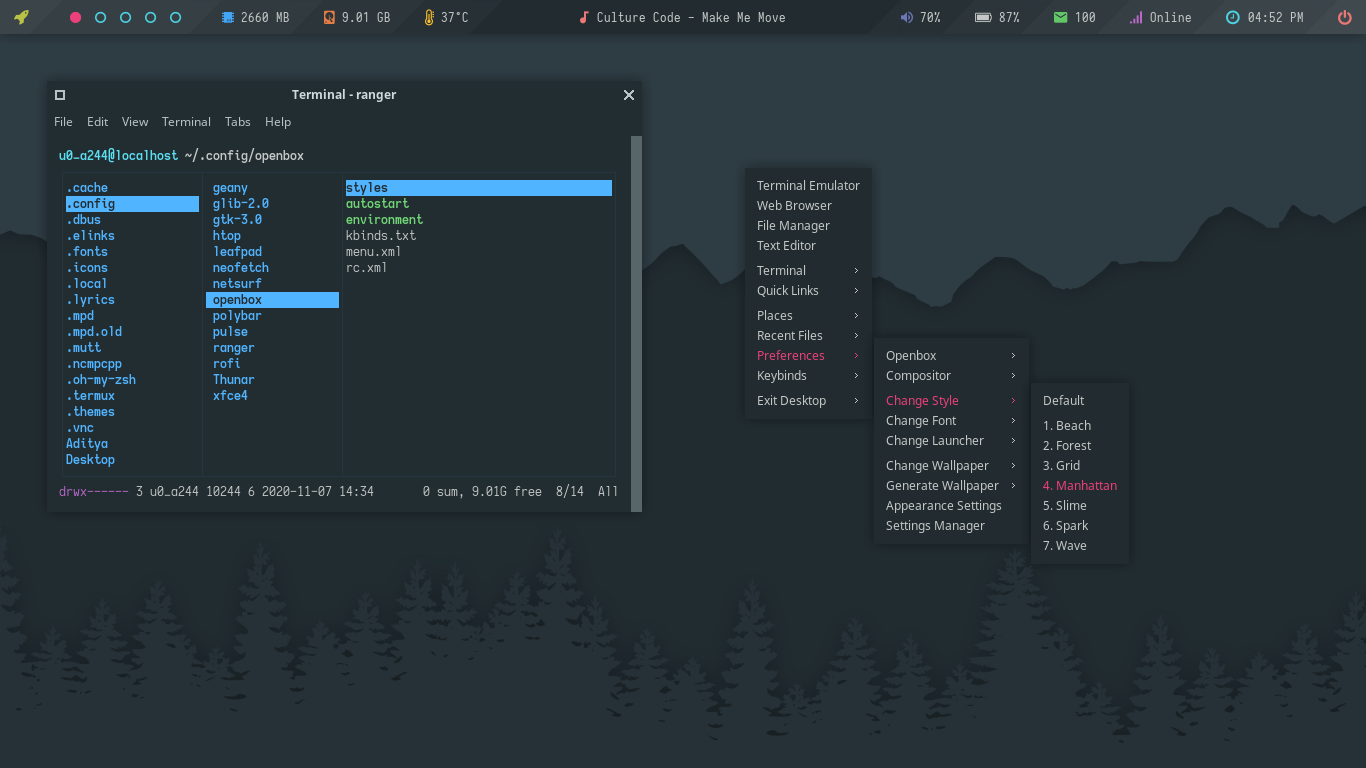 |  |
| vim & htop | ranger & calcurse | mutt & elinks | mpd & ncmpcpp |
|---|---|---|---|
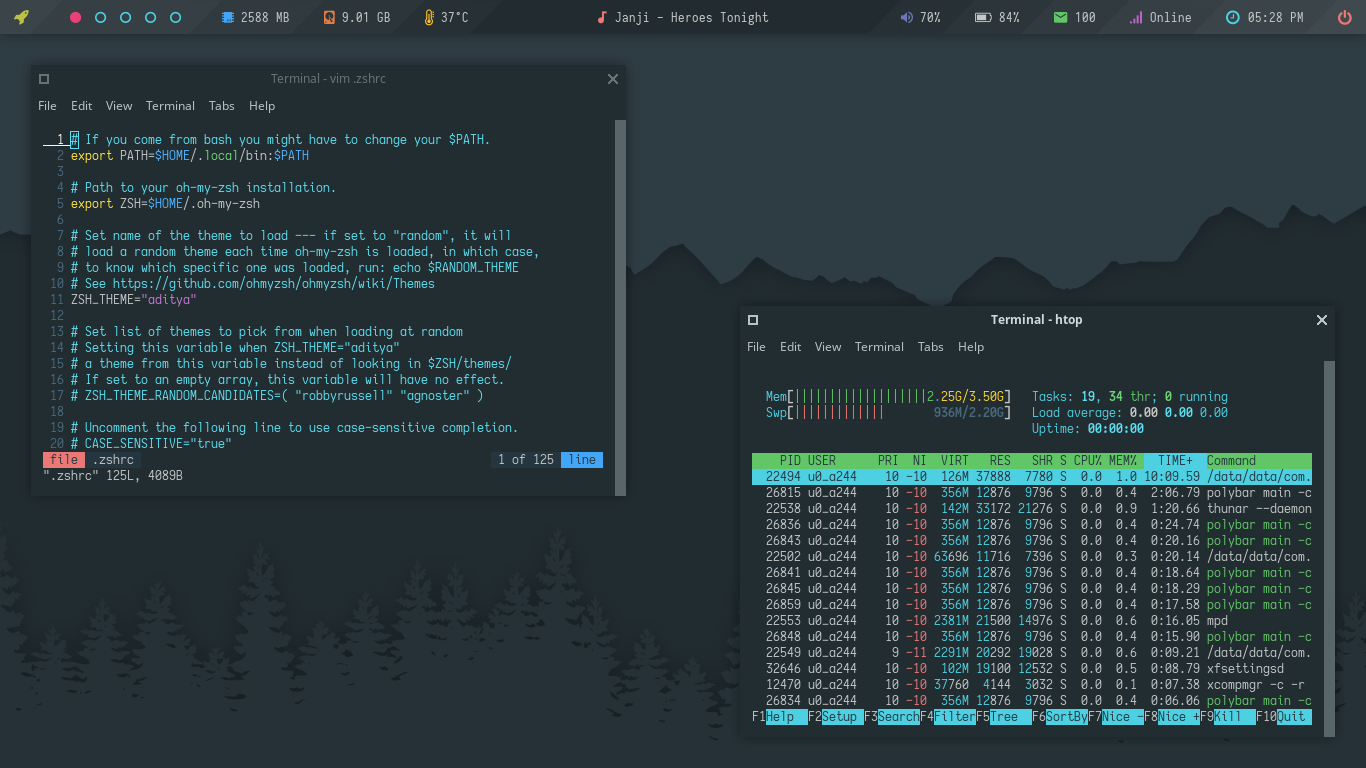 | 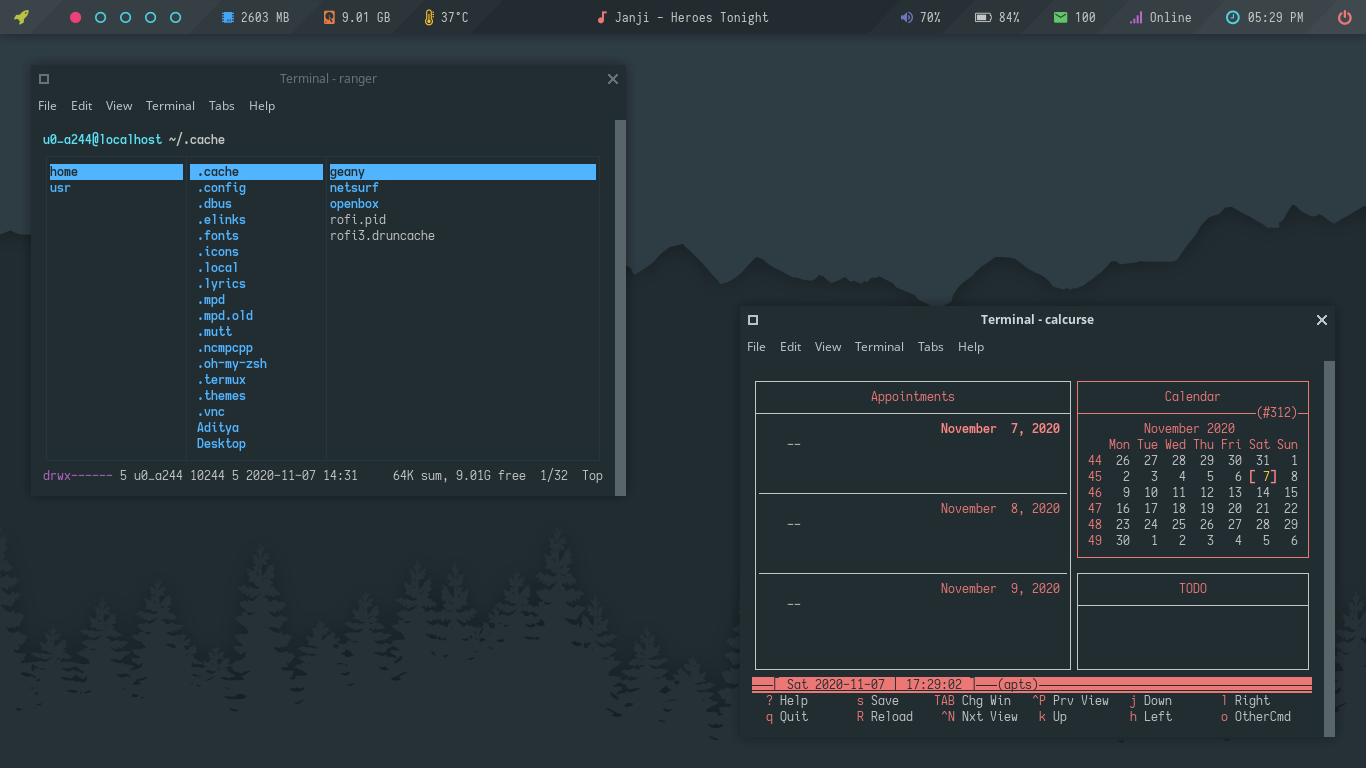 | 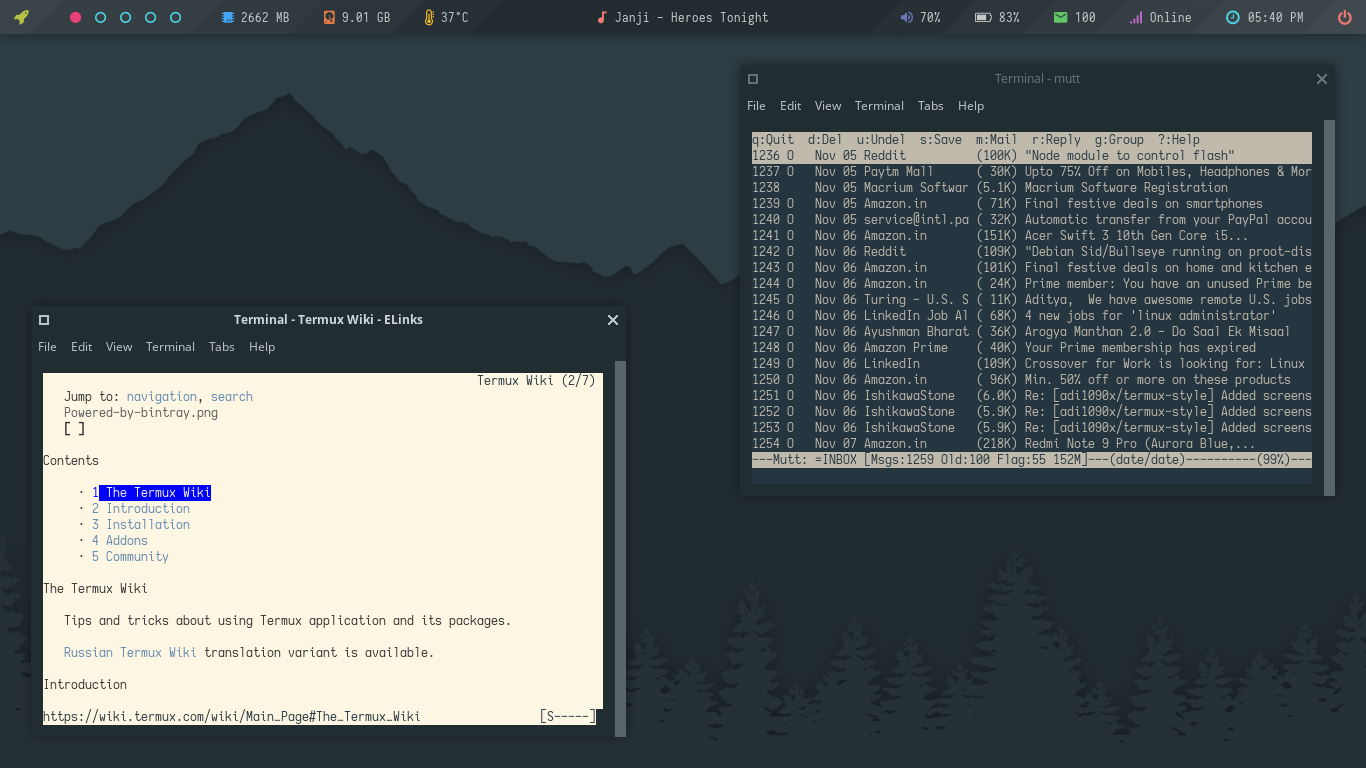 |  |
Rofi Application launcher and Applets -
| App Launcher | Music Player |
|---|---|
 | 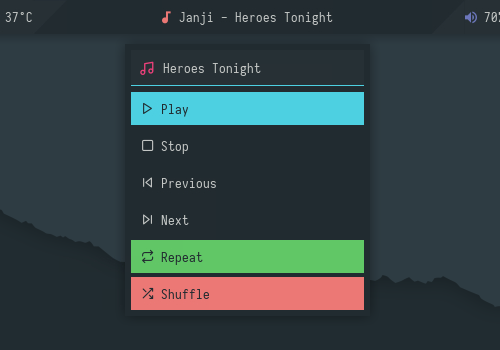 |
| Battery Status | Exit Menu | Network Info |
|---|---|---|
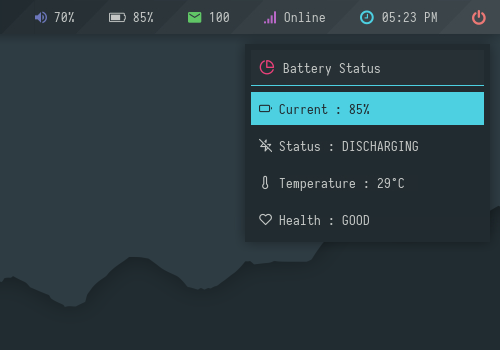 |  | 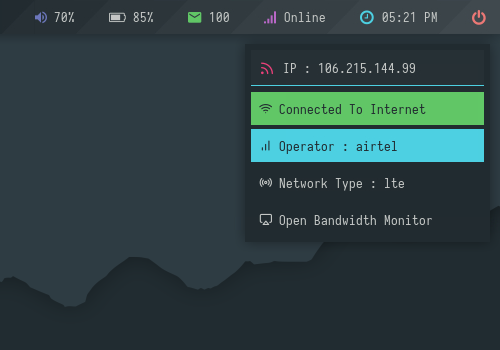 |
Styles
There are total Eight different styles/themes available in this setup. To change style, Right click on desktop > Preferences > Change Style and select the one you want to apply.
| Default | Beach | Forest | Grid |
|---|---|---|---|
 |  |  |  |
| Manhattan | Slime | Spark | Wave |
|---|---|---|---|
 |  |  |  |
Applications of Termux Desktop
Well, These are some ideas or things you can do with termux desktop. From Learning coding to Penetration testing, Chatting over IRC to Browsing web and Downloading file, Playing classic retro games to run Windows from 90s.
- Learn and practice you coding skill without having a laptop
| Python | Bash |
|---|---|
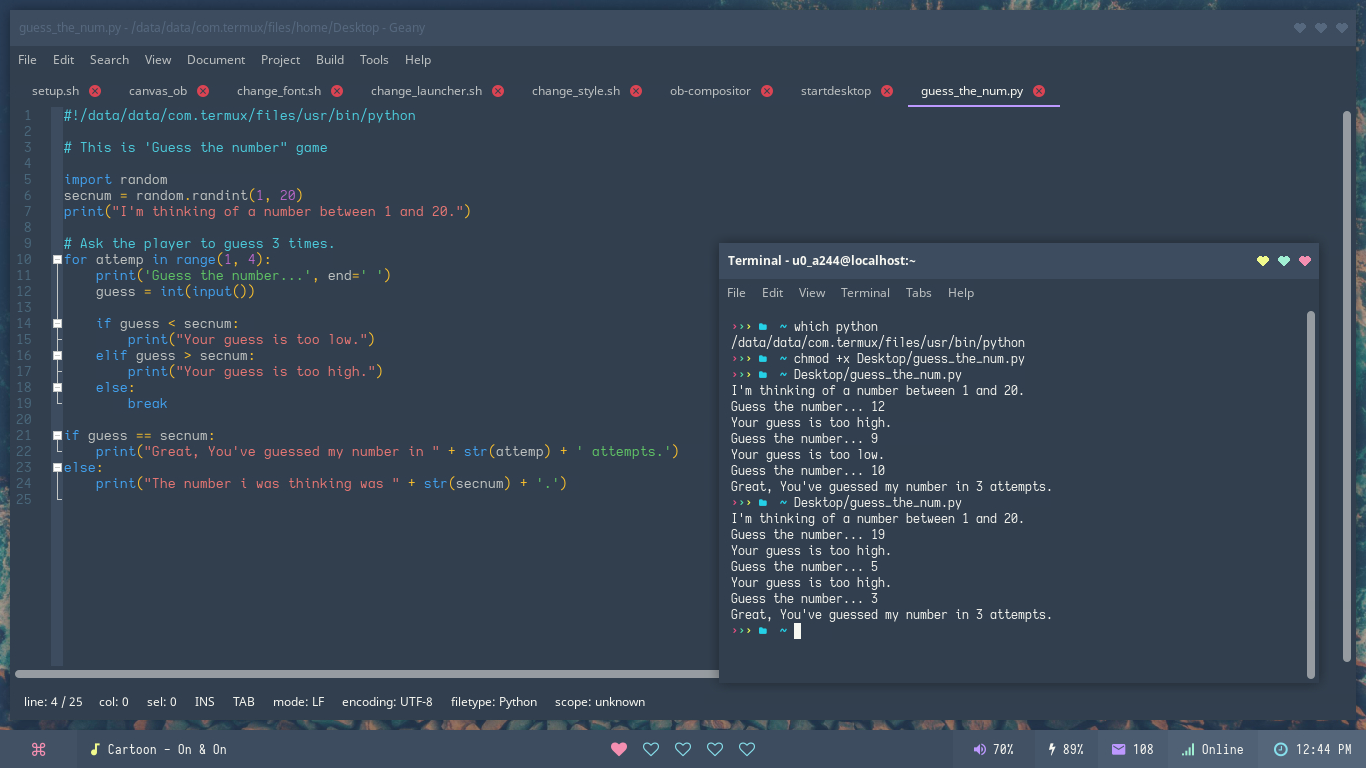 |  |
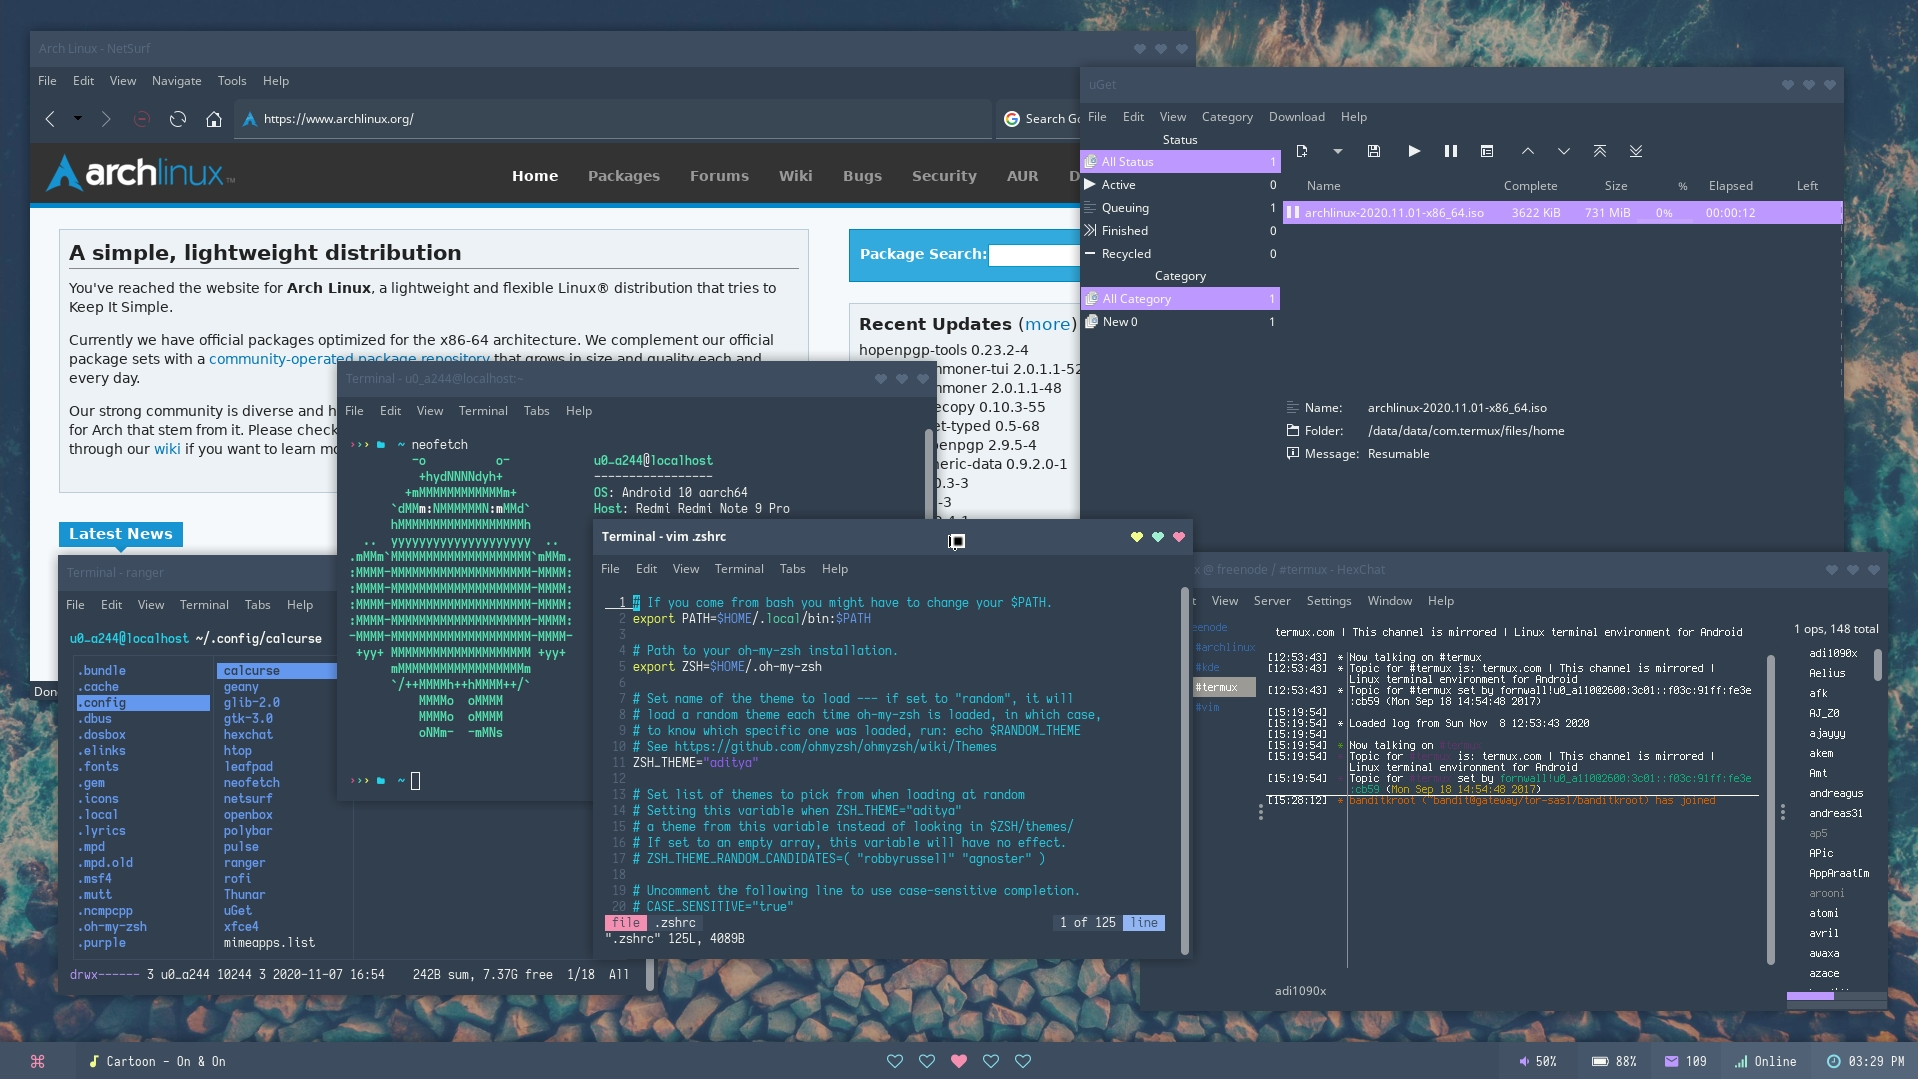
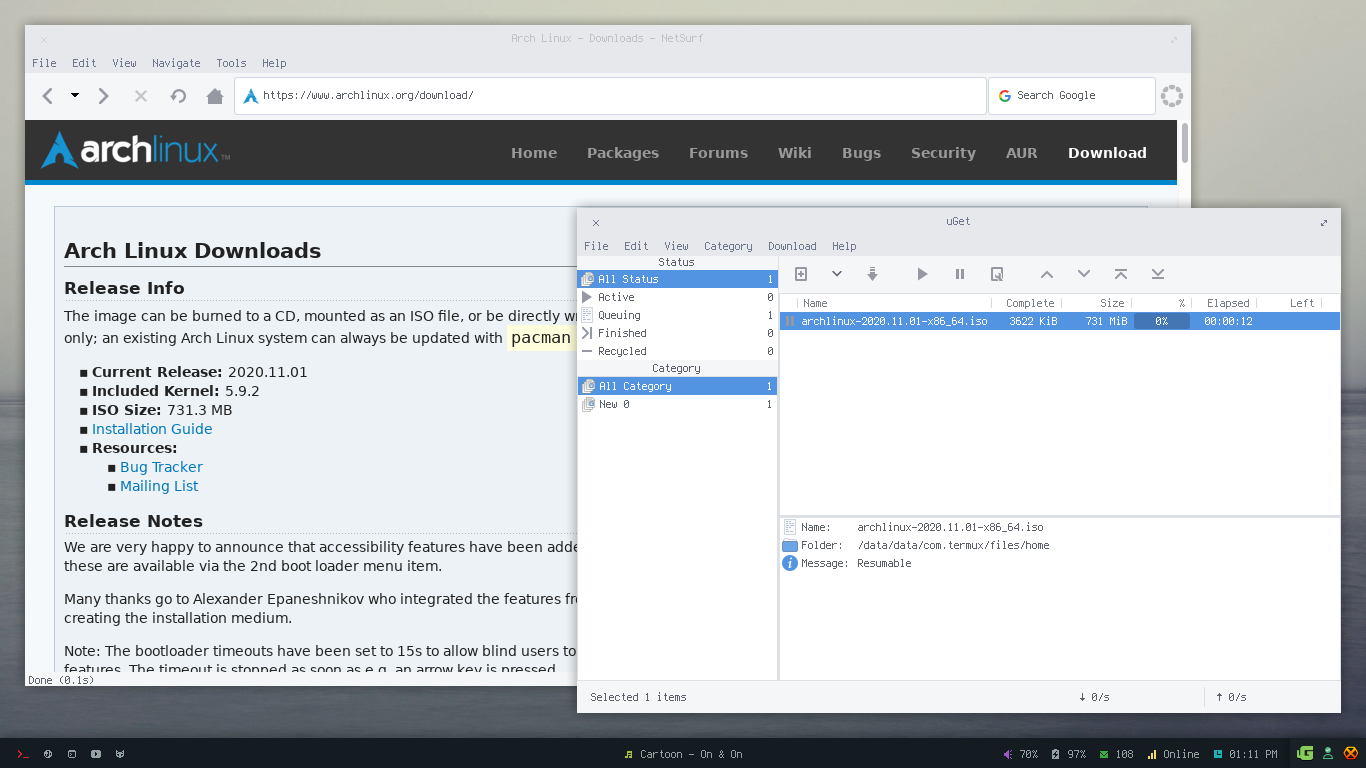
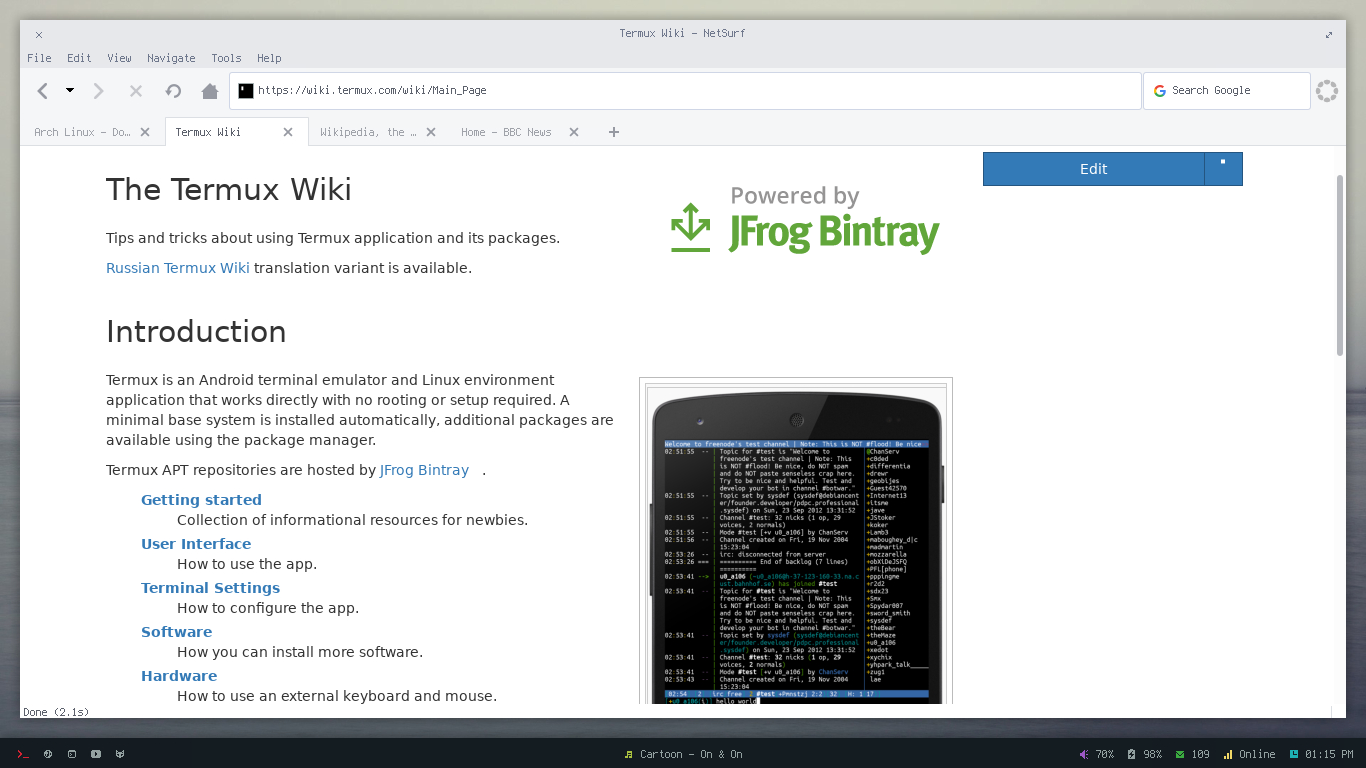
- Chatting, Web Browsing and Downloading files
| Hexchat & Pidgin | Netsurf & Uget | Browsing Wiki |
|---|---|---|
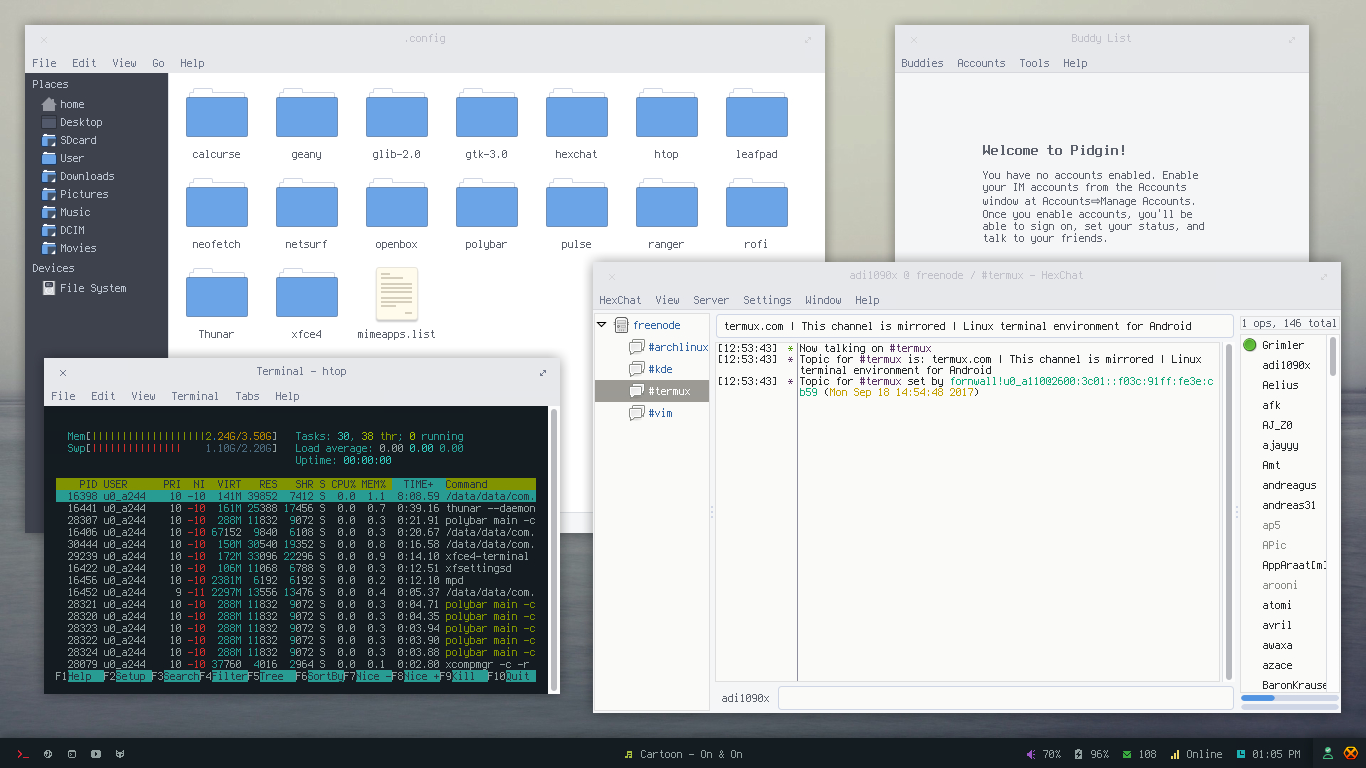 |  |  |
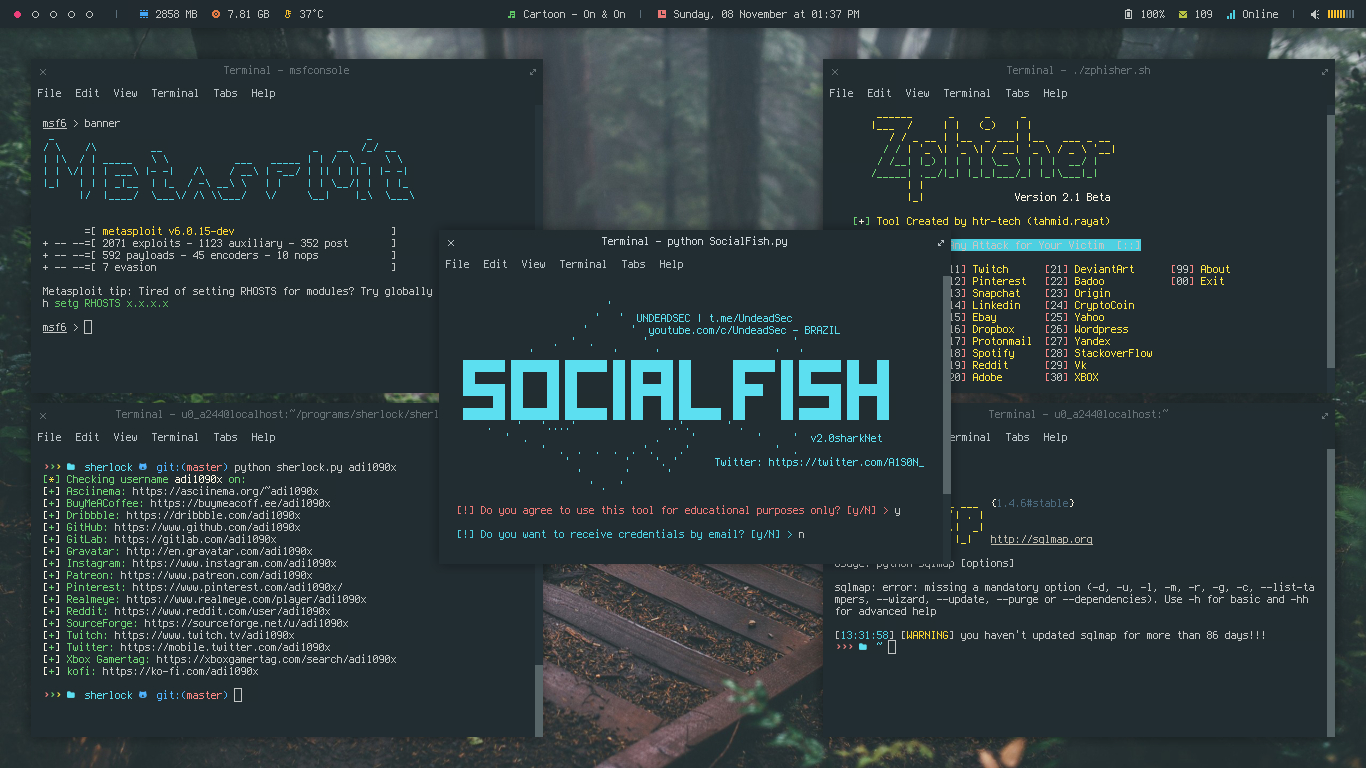
- Penetration testing and Learn cyber security stuff
I’m not doing anything illegal or sponsoring any kind of Hacking and Cracking. Termux is a powerful tool, use it with responsibilities.
| Metasploit - Sherlock - Socialfish - Zphisher - Sqlmap |
|---|
 |
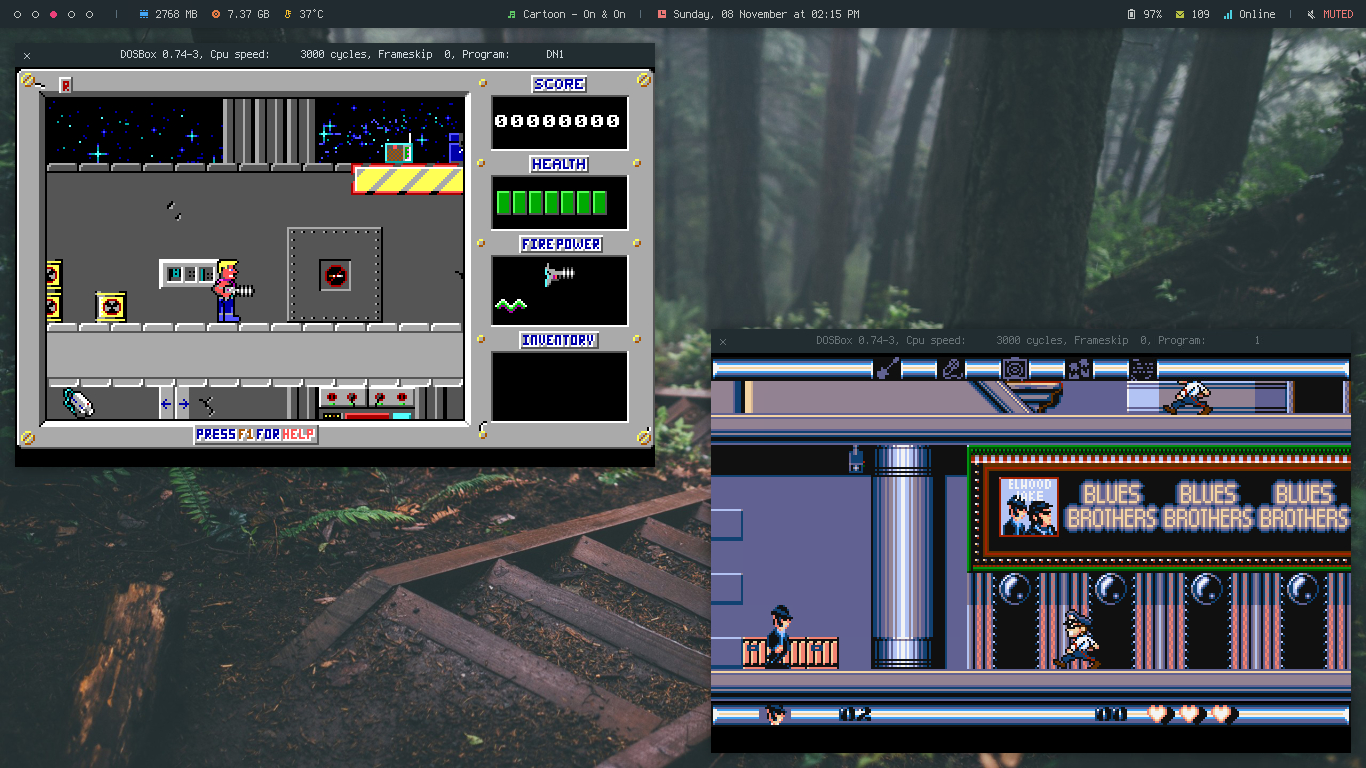
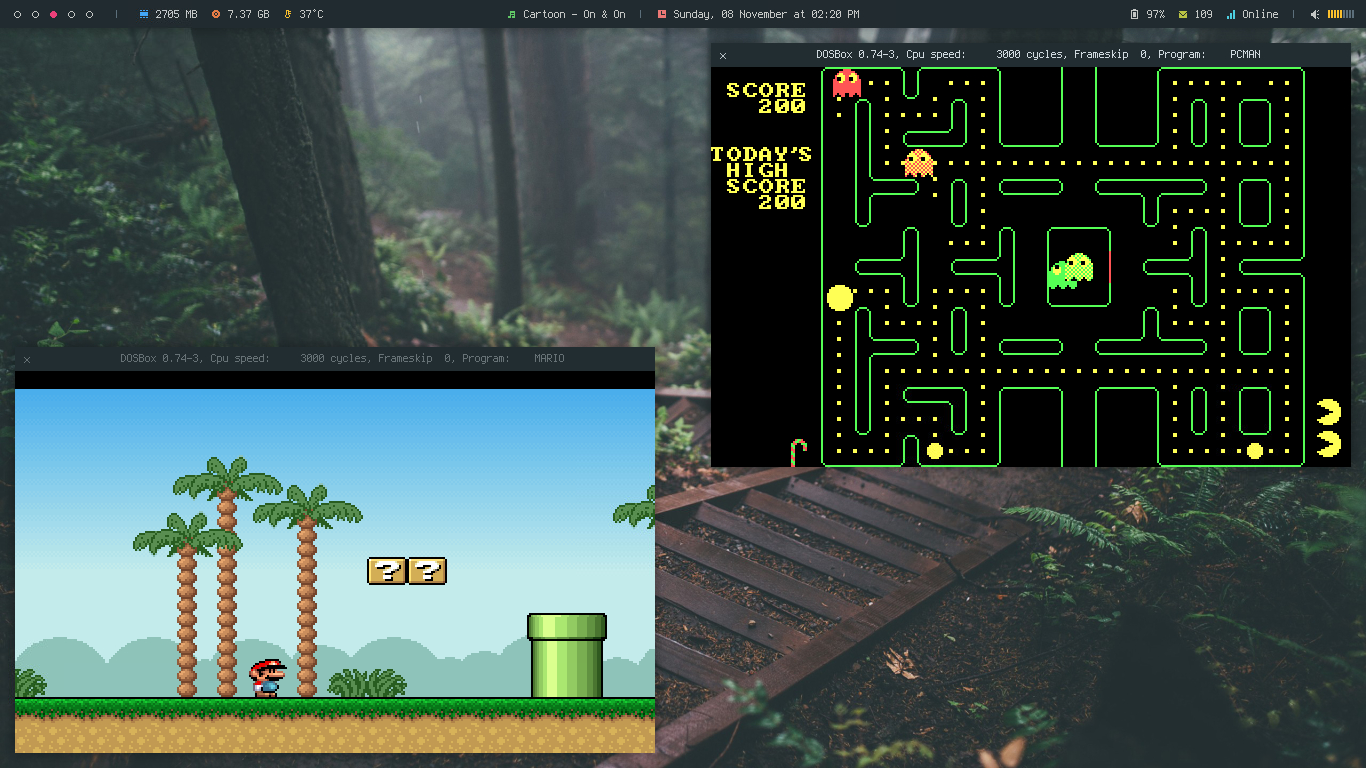
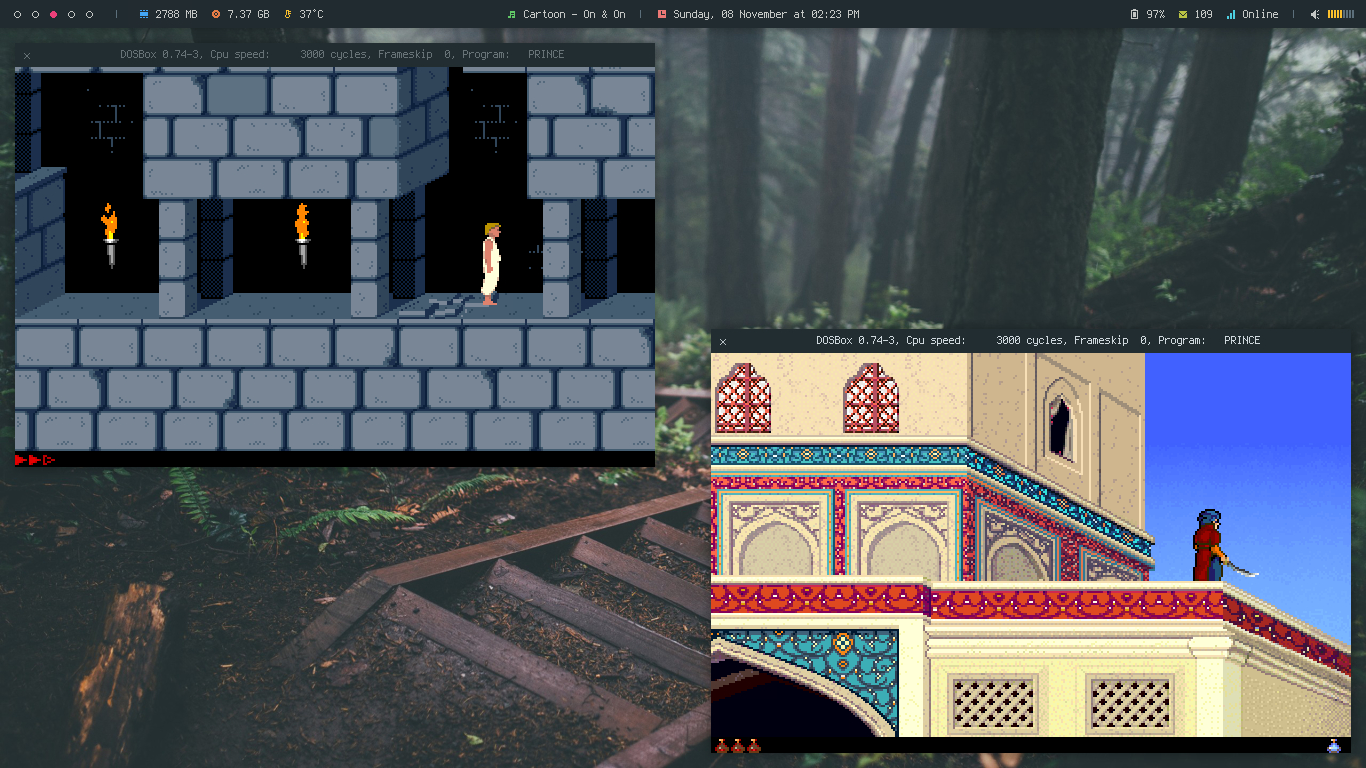
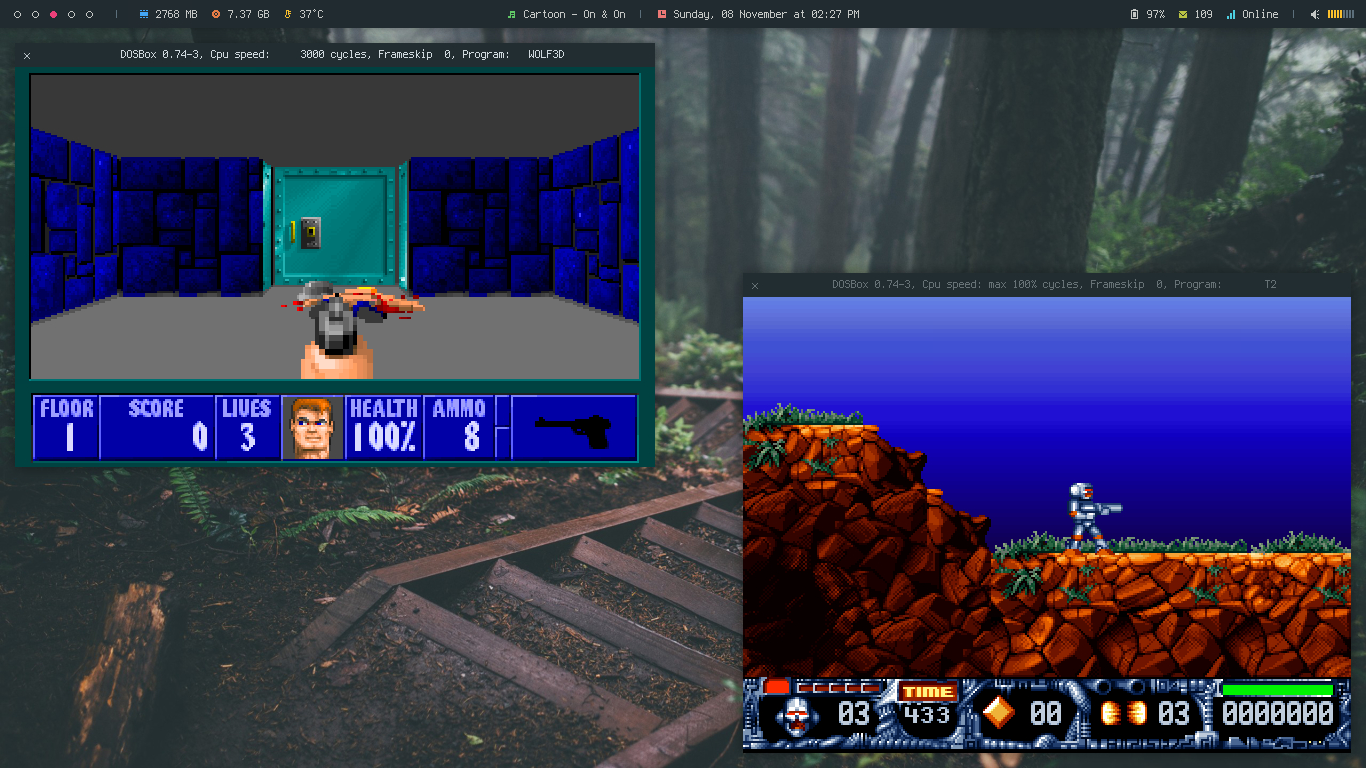
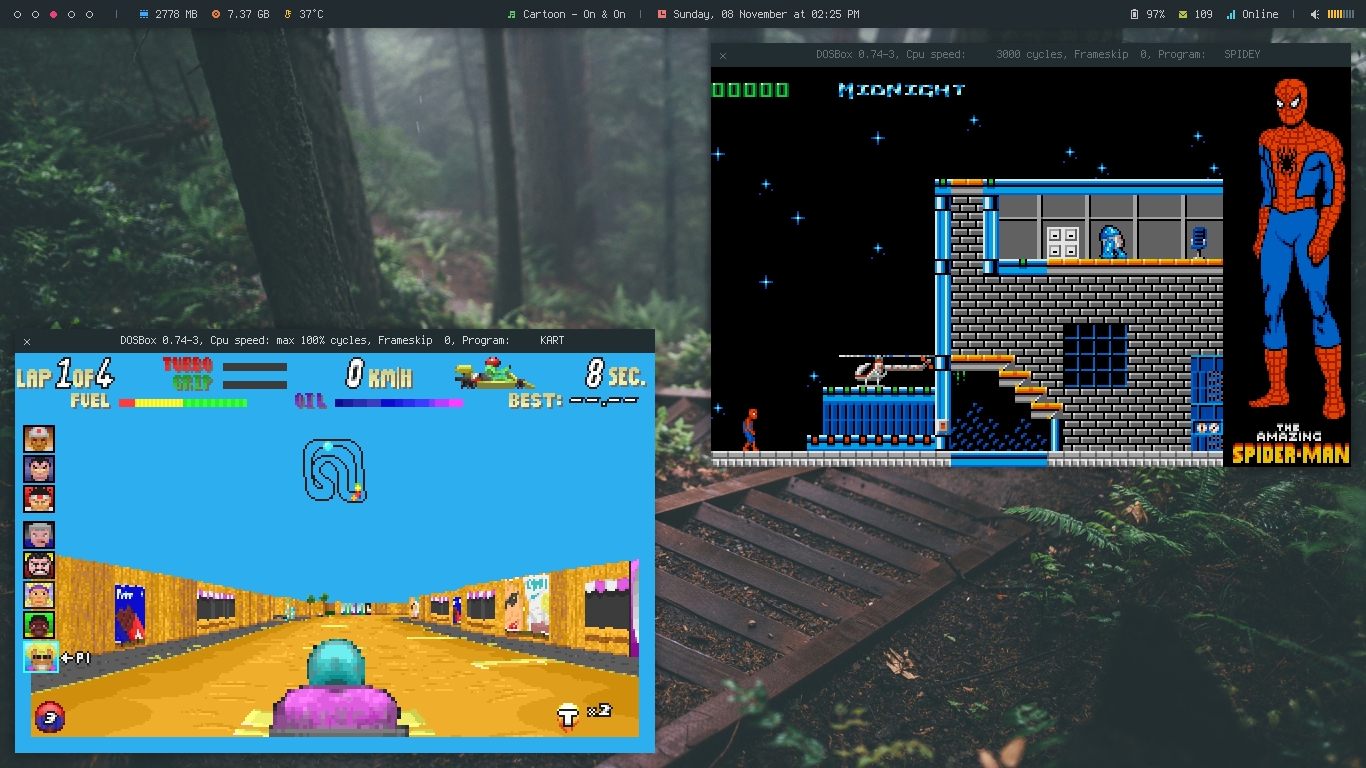
- Play classic retro games or Run Microsoft Windows from 90s with
Dosbox
| Turbo C++, Windows 1 and Windows 3 | Duke and Blue Brothers |
|---|---|
 |  |
| Mario and Pacman | Prince of Persia (both) |
|---|---|
 |  |
| Wolfenstein and Turrican2 | SuperKarts and Spiderman |
|---|---|
 |  |
You’ll probably get the idea of possible things you can do with Termux and how Termux Desktop makes it more easy.
Keybindings
Here’s some shortcut keys you want to use to speed up your work. For more, Right click on desktop > Keybinds
| Keys | Action | —– | Keys | Action | |
|---|---|---|---|---|---|
W-1 | Go To Desktop 1 | S-W-1 | Send To Desktop 1 | ||
W-2 | Go To Desktop 2 | S-W-2 | Send To Desktop 2 | ||
W-3 | Go To Desktop 3 | S-W-3 | Send To Desktop 3 | ||
W-4 | Go To Desktop 4 | S-W-4 | Send To Desktop 4 | ||
W-5 | Go To Desktop 5 | S-W-5 | Send To Desktop 5 | ||
W-S-Left | Send To Prev Desktop | W-S-Right | Send To Next Desktop | ||
A-Tab | Next Window (Current Workspace) | W-Tab | Next Window (All Workspaces) | ||
W-h | Move to TopLeft | W-j | Move to BottomLeft | ||
W-k | Move to TopRight | W-l | Move to BottomRight | ||
W-Left | Move To Left Edge | W-Right | Move To Right Edge | ||
W-Up | Maximized | W-Down | Unmaximized | ||
W-q/c | Close Windows | A-r/m | Toggle Resize/Move | ||
W-Space | Openbox Menu | W-p/A-F1 | App Launcher | ||
W-d | Toggle Desktop | W-v | Set Tasks | ||
W-f | File Manager | W-e | Text Editor | ||
W-t/return | Terminal | W-w | Web Browser | ||
W-x | Exit Menu | W-m | Music Menu | ||
W-b | Battery Menu | W-n | Network Menu | ||
C-A-v | Vim | C-A-r | Ranger | ||
C-A-h | Htop | C-A-n | Nano | ||
Additional Tools
You can install additional tools for termux, to make it visually look good.
- Oh my zsh, Setup zsh with oh-my-zsh framework. (Already Added in this setup)
- Termux style, Change color and fonts in termux.
FYI
- If you face any problem or get any error, you can create an issue & i’ll try to help.
- Edit
~/.local/bin/emailand put your Email ID and Password (Use an App password) to show unread mails on polybar. - You may need to edit some config files accoring to your need (
~/.mutt/muttrc,~/.gitconfig) - Don’t Email or DM me to ask how to hack, I ain’t a Hacker.
- Have Fun, Share this repository with your friends.